Winter is the perfect time to experiment with nail art, and one of the most popular trends this season is Bordeaux nails with snowflake designs. This elegant and festive combination is sure to make a statement at any holiday party or winter gathering. Whether you're a nail art enthusiast or just looking to try something new, Bordeaux nails with snowflakes are a great choice. Let's dive into this trendy nail art and how you can achieve it yourself.
What are Bordeaux Nails?
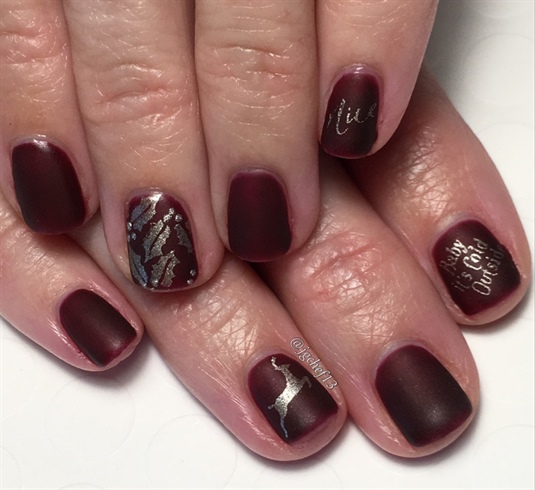
Bordeaux nails, also known as wine-red nails, are a rich and deep shade of red that resembles the color of a fine Bordeaux wine. This sophisticated color is versatile and can be worn for any occasion. Bordeaux nails add a touch of elegance and glamour to any look, making them a popular choice among fashion-forward individuals.
Why Choose Bordeaux Nails with Snowflake Design?
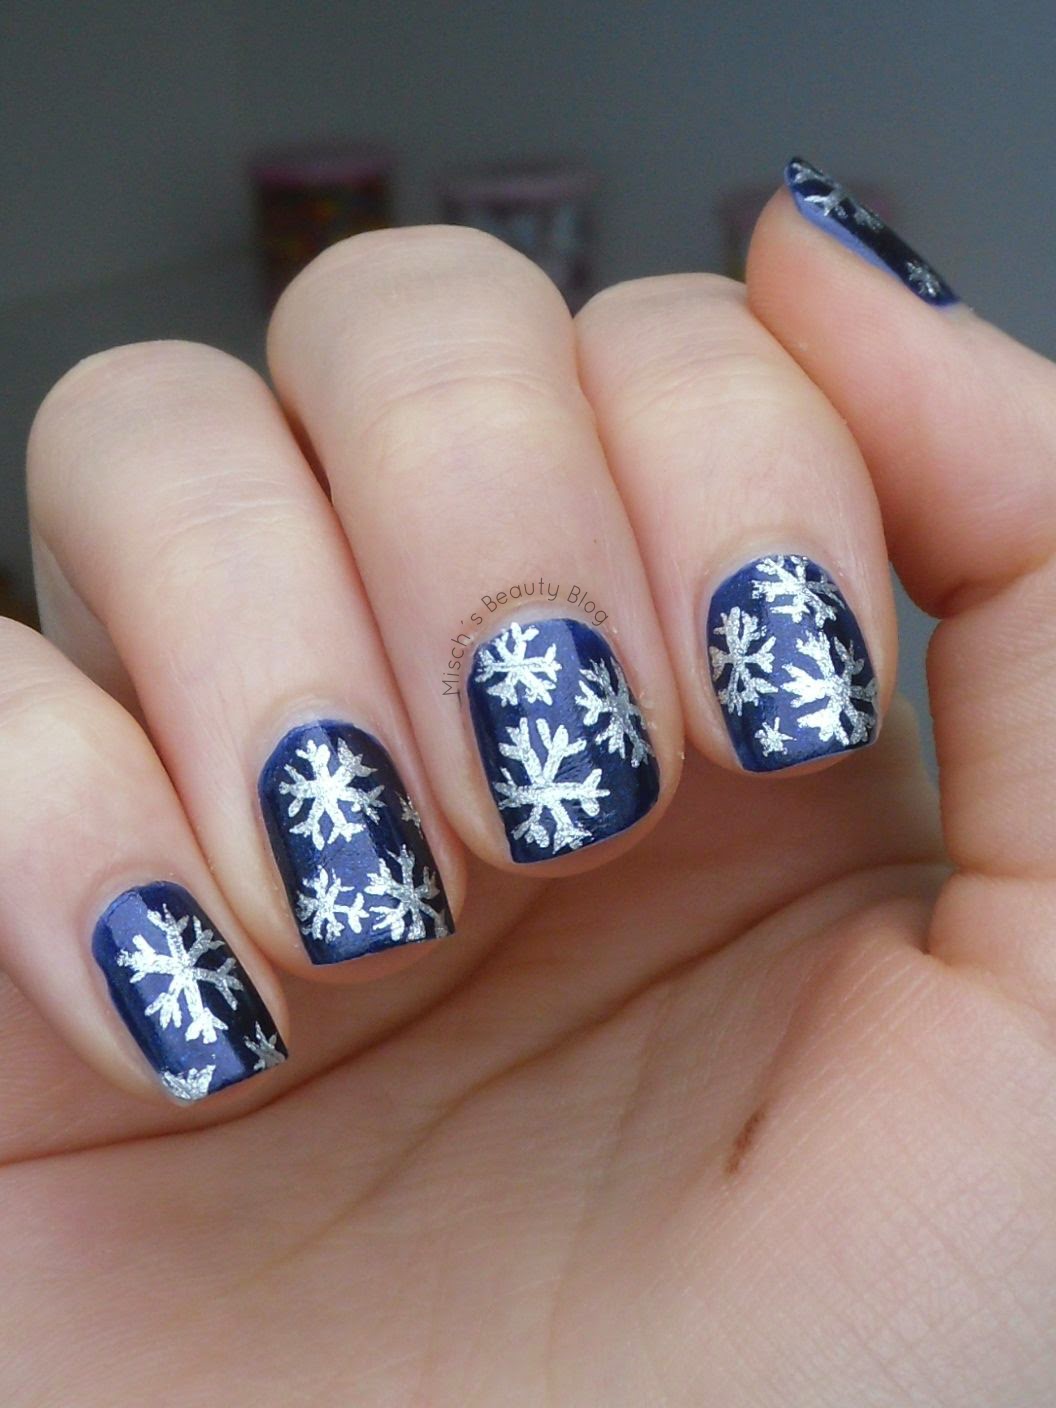
When it comes to winter nail art, snowflakes are a classic and timeless choice. The intricate and delicate nature of snowflakes adds a touch of whimsy and charm to any manicure. Pairing Bordeaux nails with snowflake designs creates a stunning contrast between the deep red hue and the icy white snowflakes, making your nails stand out.

How to Achieve Bordeaux Nails with Snowflake Design
To achieve Bordeaux nails with snowflake designs, follow these simple steps:
Step 1: Prep Your Nails
Start by removing any old nail polish and trimming your nails to your desired length. File them into your preferred shape and gently push back your cuticles.

Step 2: Apply a Base Coat
Apply a clear base coat to protect your nails and create a smooth surface for the nail polish to adhere to. This will also prevent any staining from the dark Bordeaux shade.

Step 3: Paint Your Nails Bordeaux
Once the base coat is dry, it's time to apply the Bordeaux nail polish. Start with a thin coat and allow it to dry completely before applying a second coat for full opacity. Make sure to paint the entire nail, including the edges.

Step 4: Create Snowflake Designs
Now comes the fun part ??? creating the snowflake designs. There are several ways to achieve this:
Option 1: Nail Stickers or Decals
If you're new to nail art or prefer a quick and easy option, nail stickers or decals are the way to go. Simply peel off the snowflake design of your choice and carefully place it on your dry, painted nail. Press down gently to ensure it adheres properly.

Option 2: Freehand Nail Art
If you're feeling more adventurous and artistic, you can try freehand nail art. Use a fine nail art brush or a toothpick dipped in white nail polish to carefully draw snowflake designs on your Bordeaux nails. Practice on a piece of paper first to perfect your technique.
Step 5: Seal with a Top Coat
To ensure your Bordeaux nails with snowflake designs last longer and remain chip-free, seal them with a high-quality top coat. This will add shine and protect the design. Allow the top coat to dry completely before using your hands.

Final Thoughts
Bordeaux nails with snowflake designs are a stunning choice for winter nail art. The deep red shade adds a touch of sophistication, while the delicate snowflake designs bring out the festive spirit. Whether you opt for nail stickers or freehand nail art, this manicure is sure to turn heads.
