Introduction
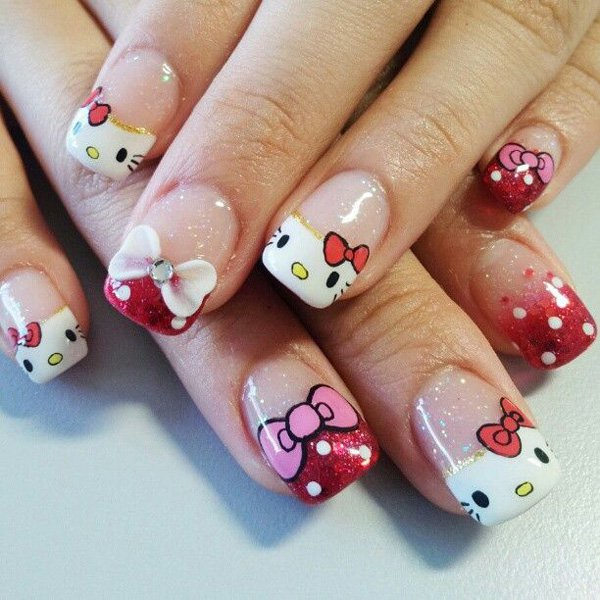
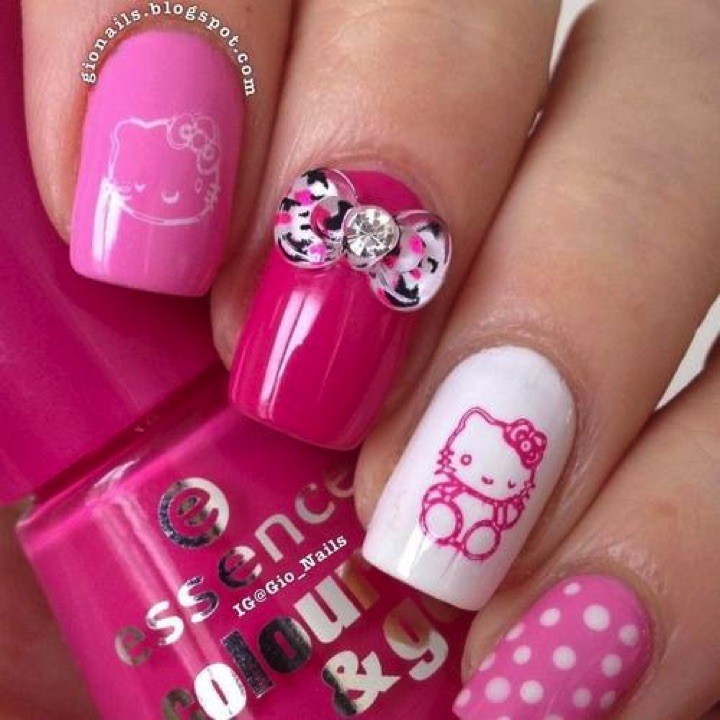
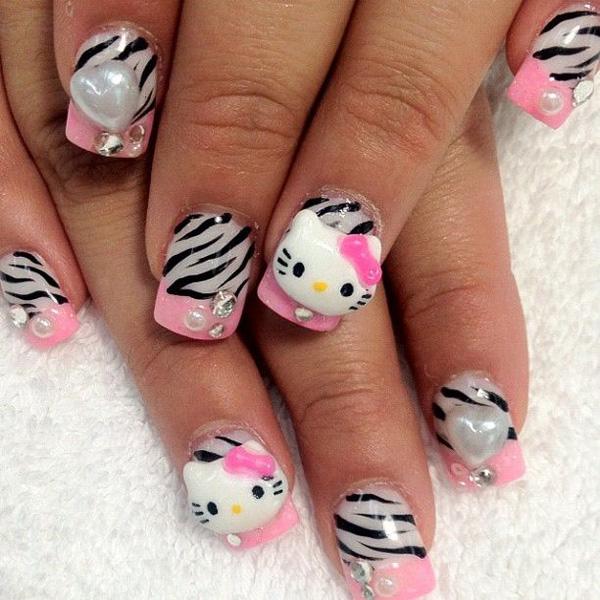
Hello Kitty Cherry Nails are a trendy and adorable nail art design that features the famous Hello Kitty character and cute cherry motifs. This nail design is loved by both young girls and adults who want to add a touch of cuteness and playfulness to their nails. In this article, we will explore the steps to create Hello Kitty Cherry Nails and some tips to make them last longer.
Step 1: Prepare Your Nails

Before starting any nail art design, it is essential to prepare your nails properly. Begin by removing any old nail polish using a gentle nail polish remover. Next, shape your nails using a nail file according to your preference. If needed, gently push back your cuticles using a cuticle pusher or an orange stick. Finally, wash your hands thoroughly to remove any dust or oil from the nails.
Step 2: Apply Base Coat
To protect your natural nails and make your nail art last longer, apply a thin layer of base coat. Choose a base coat that is specifically designed to strengthen the nails and prevent yellowing. Allow the base coat to dry completely before moving on to the next step.
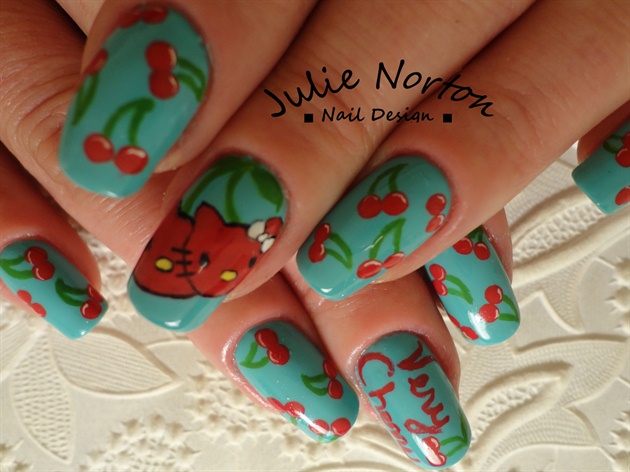
Step 3: Apply Hello Kitty Design
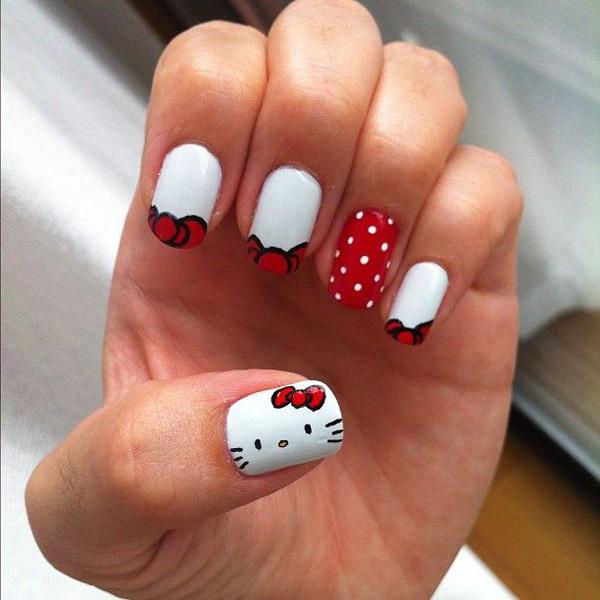
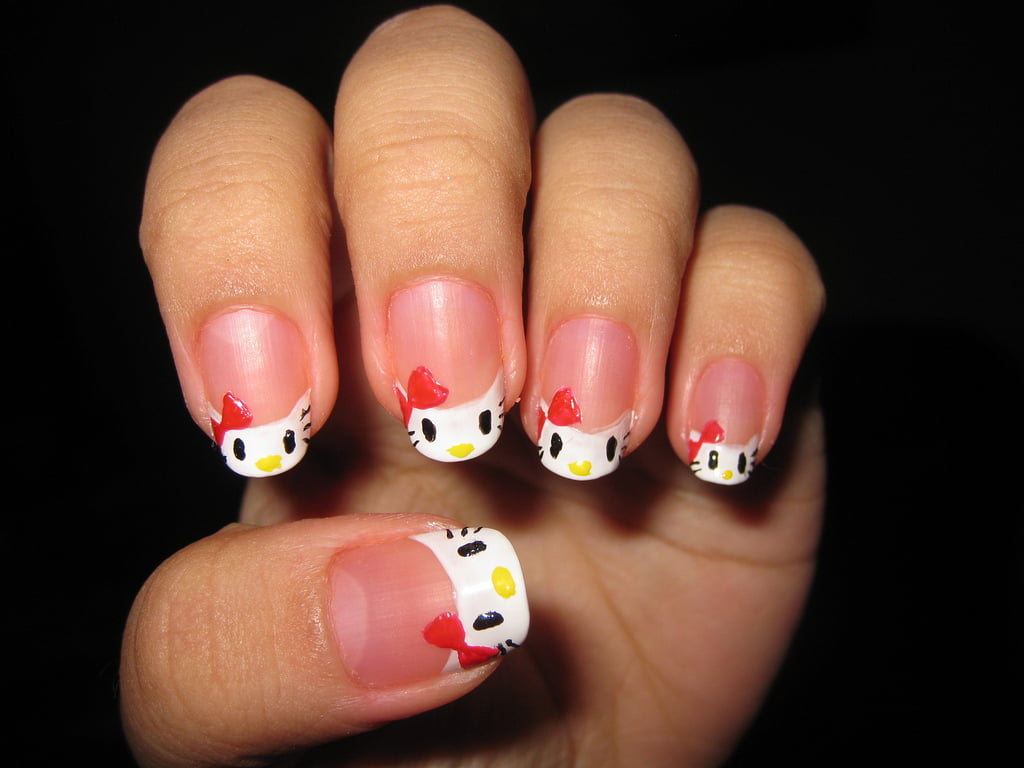
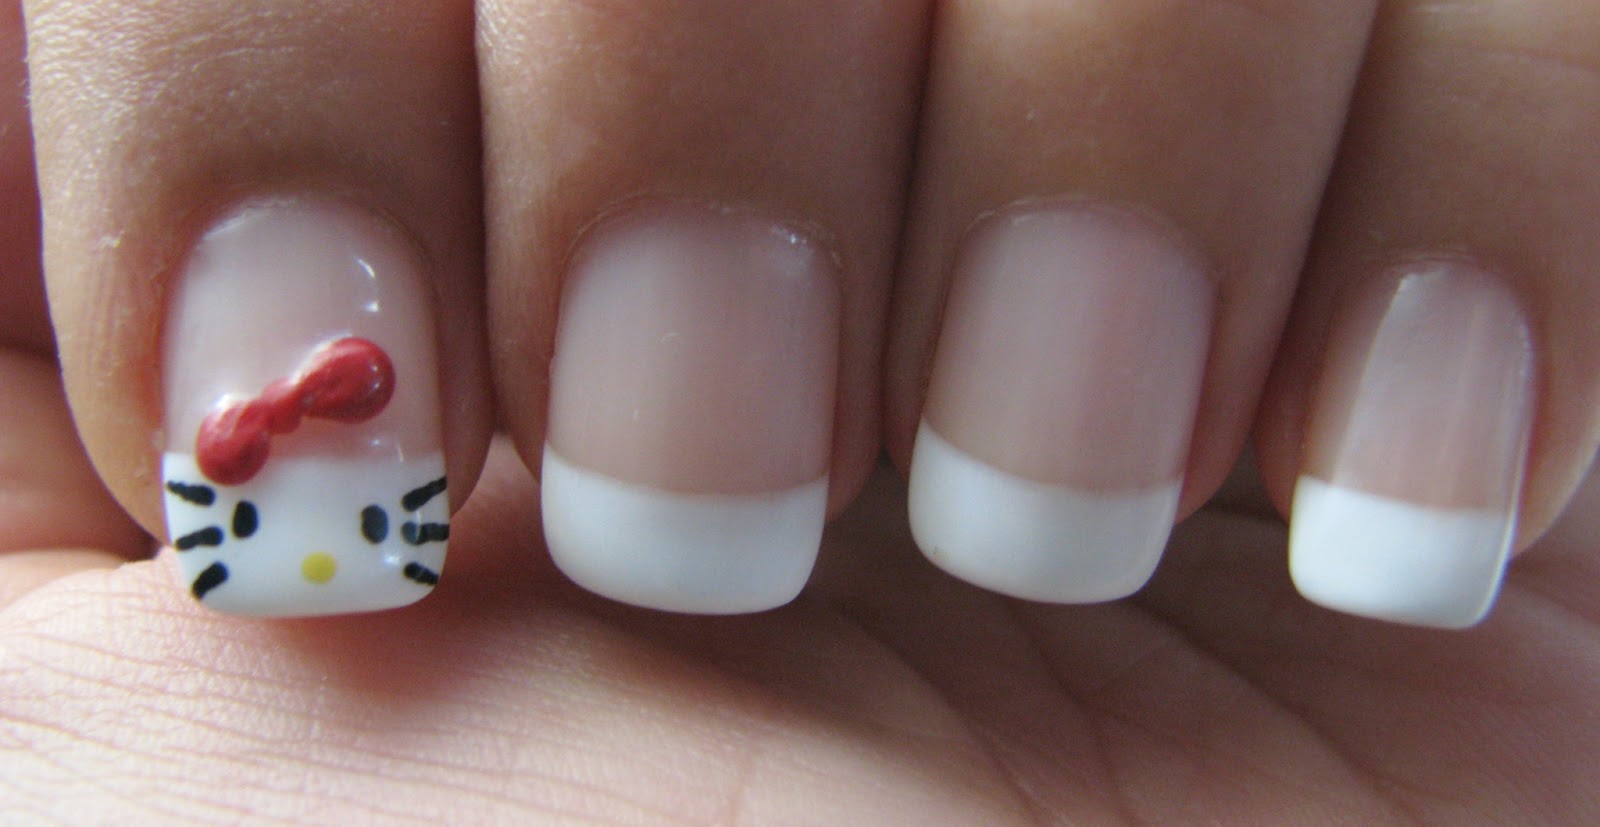
Now it's time to create the Hello Kitty design on your nails. Start by selecting a light pink nail polish as the base color. Apply two coats of the pink polish, allowing each coat to dry before applying the next one. Once the base color is dry, use a fine nail art brush or a dotting tool to draw a white half-circle shape at the tip of your nail. This will be Hello Kitty's face. Next, draw two small dots for the eyes using a black nail art pen or a toothpick. Finally, add a small yellow triangle for Hello Kitty's nose. Let the design dry completely.
Step 4: Add Cherry Motifs
To complete the Hello Kitty Cherry Nails, we need to add cute cherry motifs. Take a red nail polish and create two small red dots on each nail using a dotting tool or the end of a bobby pin. These dots will represent the cherries. Then, using a green nail polish, draw small green stems on top of the cherries. Allow the cherry motifs to dry completely.
Step 5: Apply Top Coat
To protect your nail design and make it last longer, apply a high-quality top coat. The top coat will also add a glossy finish to your nails. Apply a thin layer of top coat, making sure to seal the edges of your nails. Allow the top coat to dry completely.
Tips for Long-Lasting Hello Kitty Cherry Nails

To ensure that your Hello Kitty Cherry Nails stay beautiful for a longer time, follow these tips:
1. Avoid Excessive Water Exposure

Water can weaken the nail polish and cause it to chip or peel off. To protect your nail art, wear gloves while doing household chores or when in contact with water for an extended period.
2. Be Gentle with Your Nails
Avoid using your nails as tools to open cans or scratch surfaces. Treat your nails gently to prevent any damage to the nail art design.
3. Apply Additional Top Coat

After a few days, apply an additional layer of top coat to refresh the shine and protect the design from daily wear and tear.
4. Moisturize Your Cuticles

Regularly moisturize your cuticles and nails with cuticle oil or hand cream to keep them hydrated and healthy.
5. Avoid Harsh Chemicals
Avoid exposing your nails to harsh chemicals, such as cleaning agents or acetone-based removers. These can cause the nail polish to fade or chip.
Conclusion
Hello Kitty Cherry Nails are a delightful and charming nail art design that brings a touch of cuteness to your fingertips. By following the steps mentioned in this article and taking care of your nails, you can enjoy these adorable nails for an extended period. Express your love for Hello Kitty and cherries with this trendy nail art design!
