
Introduction
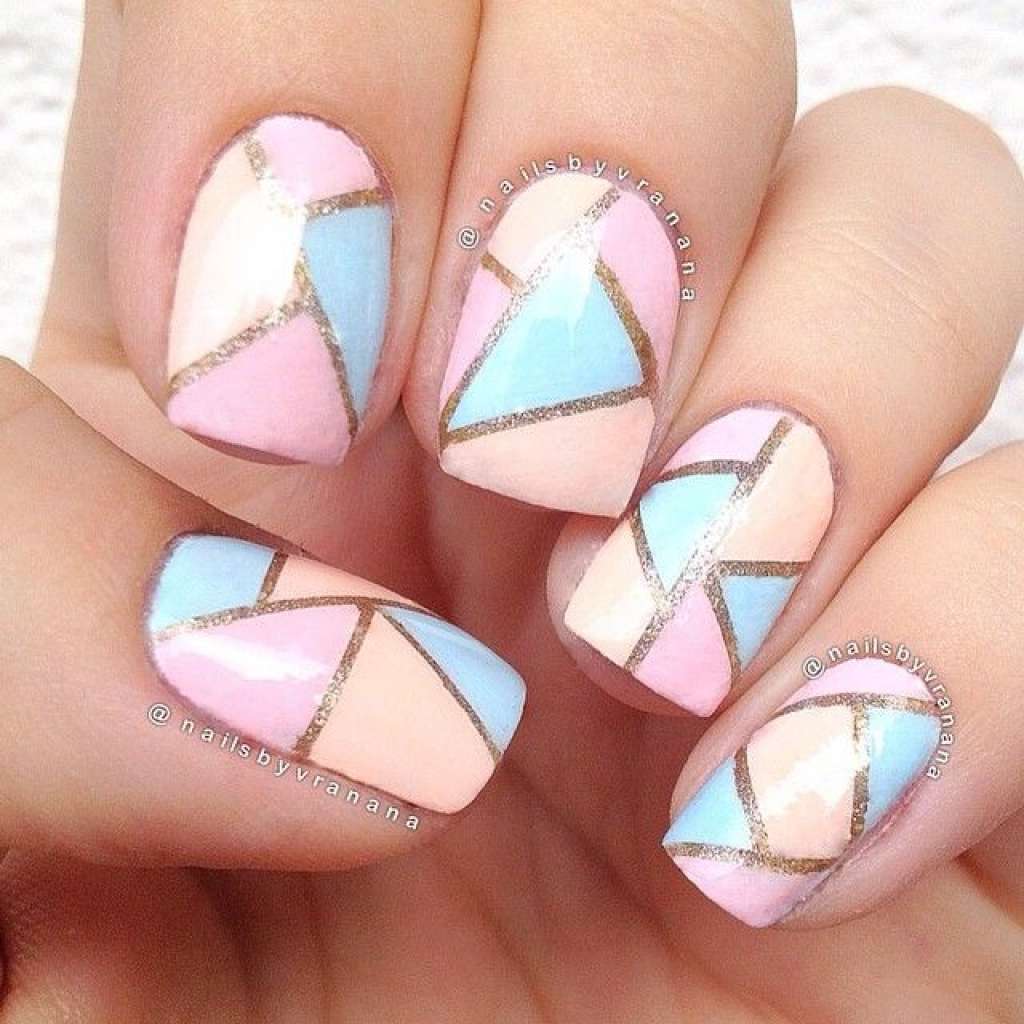
When it comes to nail art, there are endless possibilities to express your personal style and creativity. One popular trend that has been gaining traction is nails con relieve dorado pastel, which translates to pastel gold embossed nails. This unique technique combines the elegance of gold with the softness of pastel colors, creating a stunning and eye-catching design. In this article, we will explore the process of creating nails con relieve dorado pastel and how you can achieve this trendy look.
Choosing the Right Colors
Before you begin creating your nails con relieve dorado pastel, it's important to choose the right pastel colors that complement each other and create a harmonious look. Pastel hues such as mint green, baby pink, lavender, and sky blue work beautifully for this style. These colors exude a sense of calmness and femininity, perfect for creating a soft and delicate look.

Gathering the Necessary Materials
To create nails con relieve dorado pastel, you will need a few essential materials. Here's a list of what you'll need:
- Base coat
- Pastel nail polishes
- Gold nail foil
- Nail glue
- Top coat
Make sure you have all these materials ready before you start the process.

Preparing Your Nails
Before applying any nail polish, it's crucial to prepare your nails properly. Start by removing any existing nail polish and shaping your nails to your desired length and shape. Next, gently push back your cuticles using a cuticle pusher or a wooden stick. This step ensures a clean and professional-looking finish.

Applying the Base Coat
Begin by applying a thin layer of base coat to your nails. The base coat helps to protect your nails and create a smooth surface for the nail polish. Allow the base coat to dry completely before moving on to the next step.

Creating the Pastel Base
Once the base coat is dry, it's time to create the pastel base for your nails. Choose your desired pastel nail polish and apply two coats to each nail, allowing each coat to dry before applying the next. This will ensure an opaque and even base color.
Embossing with Gold Nail Foil
Now comes the fun part ??? embossing your nails with gold nail foil! Cut small pieces of the gold foil and apply a thin layer of nail glue to the desired areas of your nails. Carefully press the gold foil onto the glued areas, ensuring it adheres properly. Gently rub the foil with your finger to transfer the design onto your nails. Repeat this step for each nail, creating unique and intricate patterns.

Sealing the Design
Once you are satisfied with the embossed design, seal it with a layer of top coat. The top coat not only adds shine to your nails but also protects the design from chipping and peeling. Apply a generous amount of top coat and make sure to cover the entire nail surface.

Caring for Your Nails
After completing your nails con relieve dorado pastel, it's essential to take proper care of them to ensure their longevity. Avoid activities that may damage your nails, such as excessive exposure to water, harsh chemicals, or rough handling. Apply cuticle oil regularly to keep your cuticles moisturized and maintain the health of your nails.

Conclusion
Nails con relieve dorado pastel is a stunning nail art technique that combines the elegance of gold with the softness of pastel colors. By following the steps outlined in this article, you can create a unique and eye-catching design that is sure to turn heads. So, gather your materials, choose your favorite pastel colors, and get ready to embrace this trendy and chic nail art style!
