Introduction
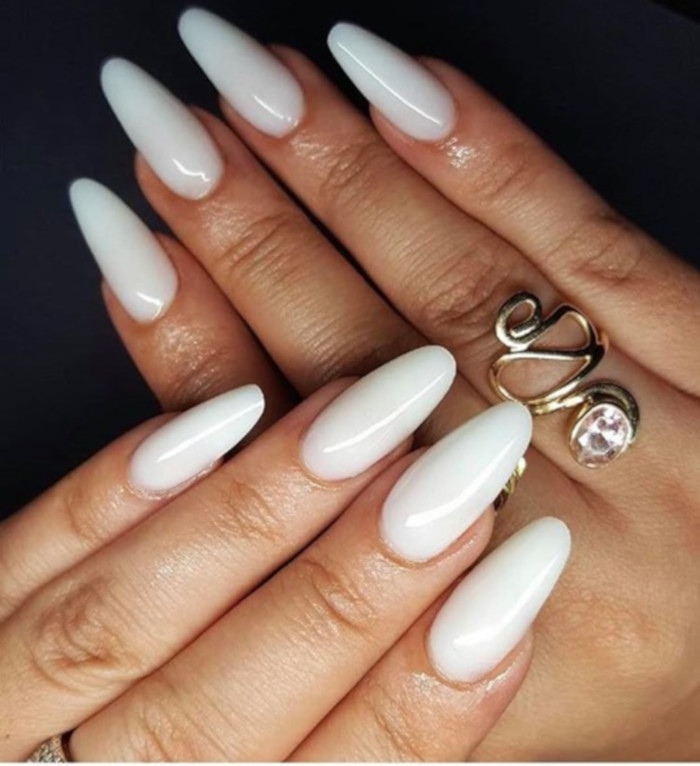
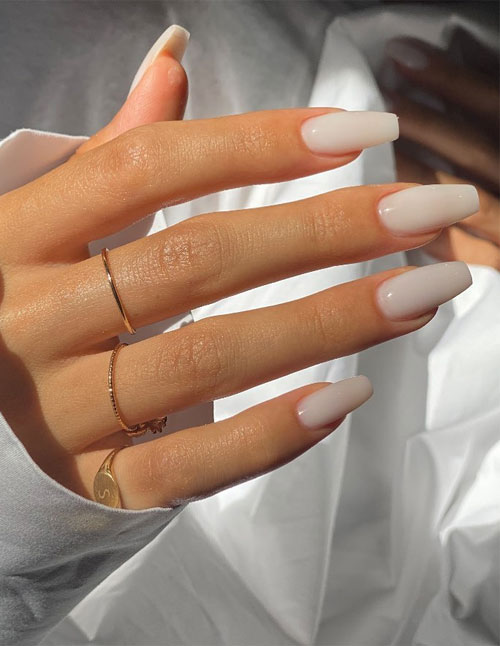
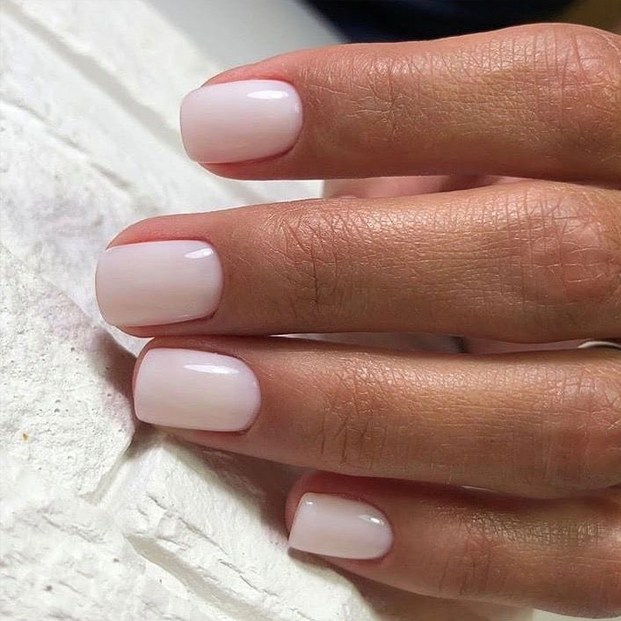
Summer is the perfect time to experiment with trendy nail designs and colors. One of the popular nail trends for this summer is the milky nails. Milky nails give a soft and elegant look, perfect for the warm weather. In this article, we will explore different milky nail designs and how to achieve them. So, get ready to flaunt your milky nails this summer!

Choosing the Right Shade
When it comes to milky nails, choosing the right shade is crucial. You can opt for a classic milky white shade that mimics the color of milk or experiment with different pastel shades. Milky pink, peach, lavender, and mint green are some popular choices for summer milky nails. The key is to select a shade that complements your skin tone and matches your summer outfits.
Prepping Your Nails
Before applying any nail polish, it is important to prep your nails properly. Start by removing any old nail polish using a gentle nail polish remover. Next, trim and shape your nails to your desired length and shape. Gently push back your cuticles using a cuticle pusher. Finally, buff the surface of your nails to create a smooth canvas for the nail polish.
Applying a Base Coat
Applying a base coat is essential to protect your nails and make your nail polish last longer. Choose a clear base coat that will provide a smooth surface for the milky nail polish. Apply a thin layer of the base coat and allow it to dry completely before moving on to the next step.

Creating Milky Gradient Nails
One popular milky nail design is the gradient nails. To create this look, you will need two or more milky shades in the same color family. Start by applying the lightest shade as the base color and allow it to dry. Then, using a makeup sponge, dab the darker shade(s) onto the sponge and gently press it onto the tips of your nails. This will create a gradient effect. Repeat this step with the remaining shades if desired. Finish off with a layer of top coat.

Adding Nail Art
To take your milky nails to the next level, consider adding some nail art. You can create simple designs using nail art brushes and dotting tools. For example, you can create polka dots, flowers, or geometric patterns on one or two accent nails. Nail stickers and decals are also a great option for easy and quick nail art. Get creative and have fun with your designs!

Matte Milky Nails
If you want to switch things up, try a matte finish for your milky nails. Matte nails give a chic and sophisticated look. Once you have applied your milky nail polish, wait for it to dry completely. Then, apply a matte top coat over the milky polish. The matte top coat will transform the glossy finish into a trendy matte finish.
Caring for Milky Nails
After creating your stunning milky nails, it is important to take care of them to make them last. Avoid exposing your nails to excessive water and harsh chemicals as they can cause the polish to chip. Apply a clear top coat every few days to maintain the shine and protect the polish. Moisturize your cuticles regularly to keep them hydrated and healthy.

Conclusion
Milky nails are the perfect choice for summer, giving a soft and elegant look to your hands. Experiment with different shades, gradients, and nail art to create unique milky nail designs. Remember to prep your nails properly and apply a base coat before applying the milky polish. Take good care of your milky nails to make them last longer. Now, go ahead and rock your milky nails this summer!
