Introduction
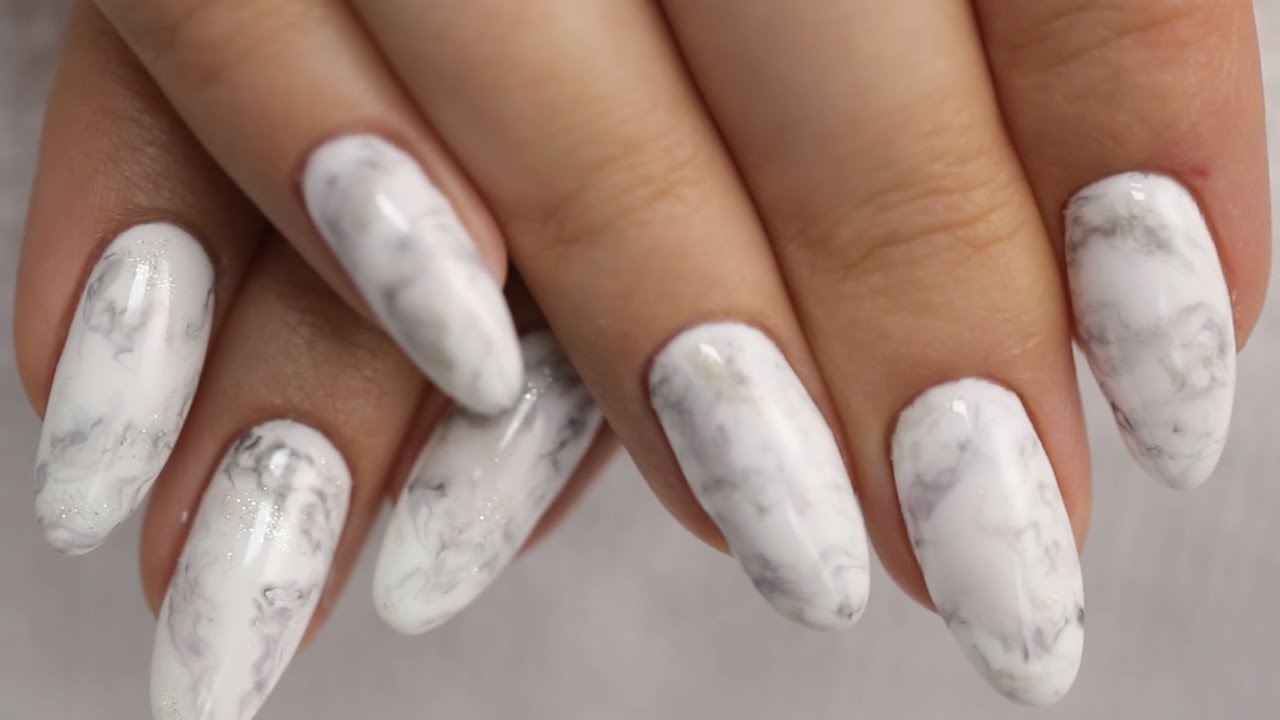
Nails Marmur is a trendy and stylish nail art technique that mimics the appearance of marble on your nails. It is a versatile design that can be done in various colors and patterns, making it a favorite among nail art enthusiasts. In this tutorial, we will guide you through the step-by-step process of creating stunning marble nails.

Gather Your Supplies
Before you begin, make sure you have all the necessary supplies. You will need:
- Base coat
- White nail polish
- Various nail polish colors of your choice
- Clear top coat
- Disposable cup or container
- Toothpick or dotting tool
- Nail polish remover
- Cotton swabs

Prepare Your Nails
Start by preparing your nails. Remove any existing nail polish using nail polish remover and clean your nails thoroughly. Trim and shape your nails to your desired length and style. Apply a base coat to protect your natural nails from staining and to create a smooth surface for the nail polish.

Apply White Base
To achieve the marble effect, a white base is essential. Apply a coat of white nail polish to all your nails and let it dry completely. This will serve as the background for the marble design.

Create Marble Effect
Now comes the fun part ??? creating the marble effect! Take your disposable cup or container and fill it with room temperature water. Choose your desired nail polish colors and drop a few drops of each into the water. The colors will spread and form beautiful patterns.

Marbling Technique
Using a toothpick or dotting tool, gently swirl the colors in the water to create a marbled effect. Don't overmix, as you want the colors to remain distinct. Once you are satisfied with the design, carefully dip your nail into the water, ensuring the polish covers the entire nail. Hold it in the water for a few seconds, then slowly remove it.

Clean the Excess
After removing your nail from the water, you'll notice that some excess polish may have stuck to your skin. Don't worry! Simply take a cotton swab dipped in nail polish remover and clean up the edges of your nails, removing any stray polish. This step will give your nails a clean and polished look.

Repeat for Each Nail
Repeat the marbling technique for each nail, ensuring the water is clean and the colors are spread evenly. You can experiment with different color combinations and patterns to create unique marble designs on each nail.

Apply Top Coat
Once your marble design has dried completely, seal it with a clear top coat. This will protect the design and give your nails a glossy finish. Apply the top coat carefully, covering the entire nail surface and ensuring a smooth application.
Final Touches
After the top coat has dried, take a moment to admire your beautiful marble nails. If you notice any smudges or imperfections, gently clean them up with a cotton swab dipped in nail polish remover. Now, your nails are ready to show off!

Conclusion
Nails Marmur is a creative and eye-catching nail art technique that allows you to express your personal style. With this tutorial, you have learned how to create stunning marble nails using simple techniques and readily available supplies. Get creative, experiment with colors, and enjoy the process of transforming your nails into mini works of art!
