
Introduction
In the world of nail art, there are countless designs and styles to choose from. One popular and timeless choice is the simple heart design. This article will guide you on how to create beautiful and elegant heart-shaped nail art that will surely catch everyone's attention.
Gather Your Supplies

Before starting your nail art journey, it's important to gather all the necessary supplies. You will need:
- Nail polish in your desired colors
- Nail art brushes or toothpicks
- Nail polish remover
- Base coat and top coat
- Clear tape or nail striping tape
- Cotton swabs
Prepping Your Nails
Before diving into the heart design, it's crucial to prep your nails properly. Start by removing any old nail polish using a cotton swab soaked in nail polish remover. Then, trim and shape your nails to your desired length and style. Apply a base coat to protect your nails and ensure a smooth surface for the nail art.
Creating the Heart Design

Now, it's time to create the heart design on your nails. You can choose to paint the hearts directly on your nails or use clear tape or nail striping tape as a stencil. Here's how you can do it:
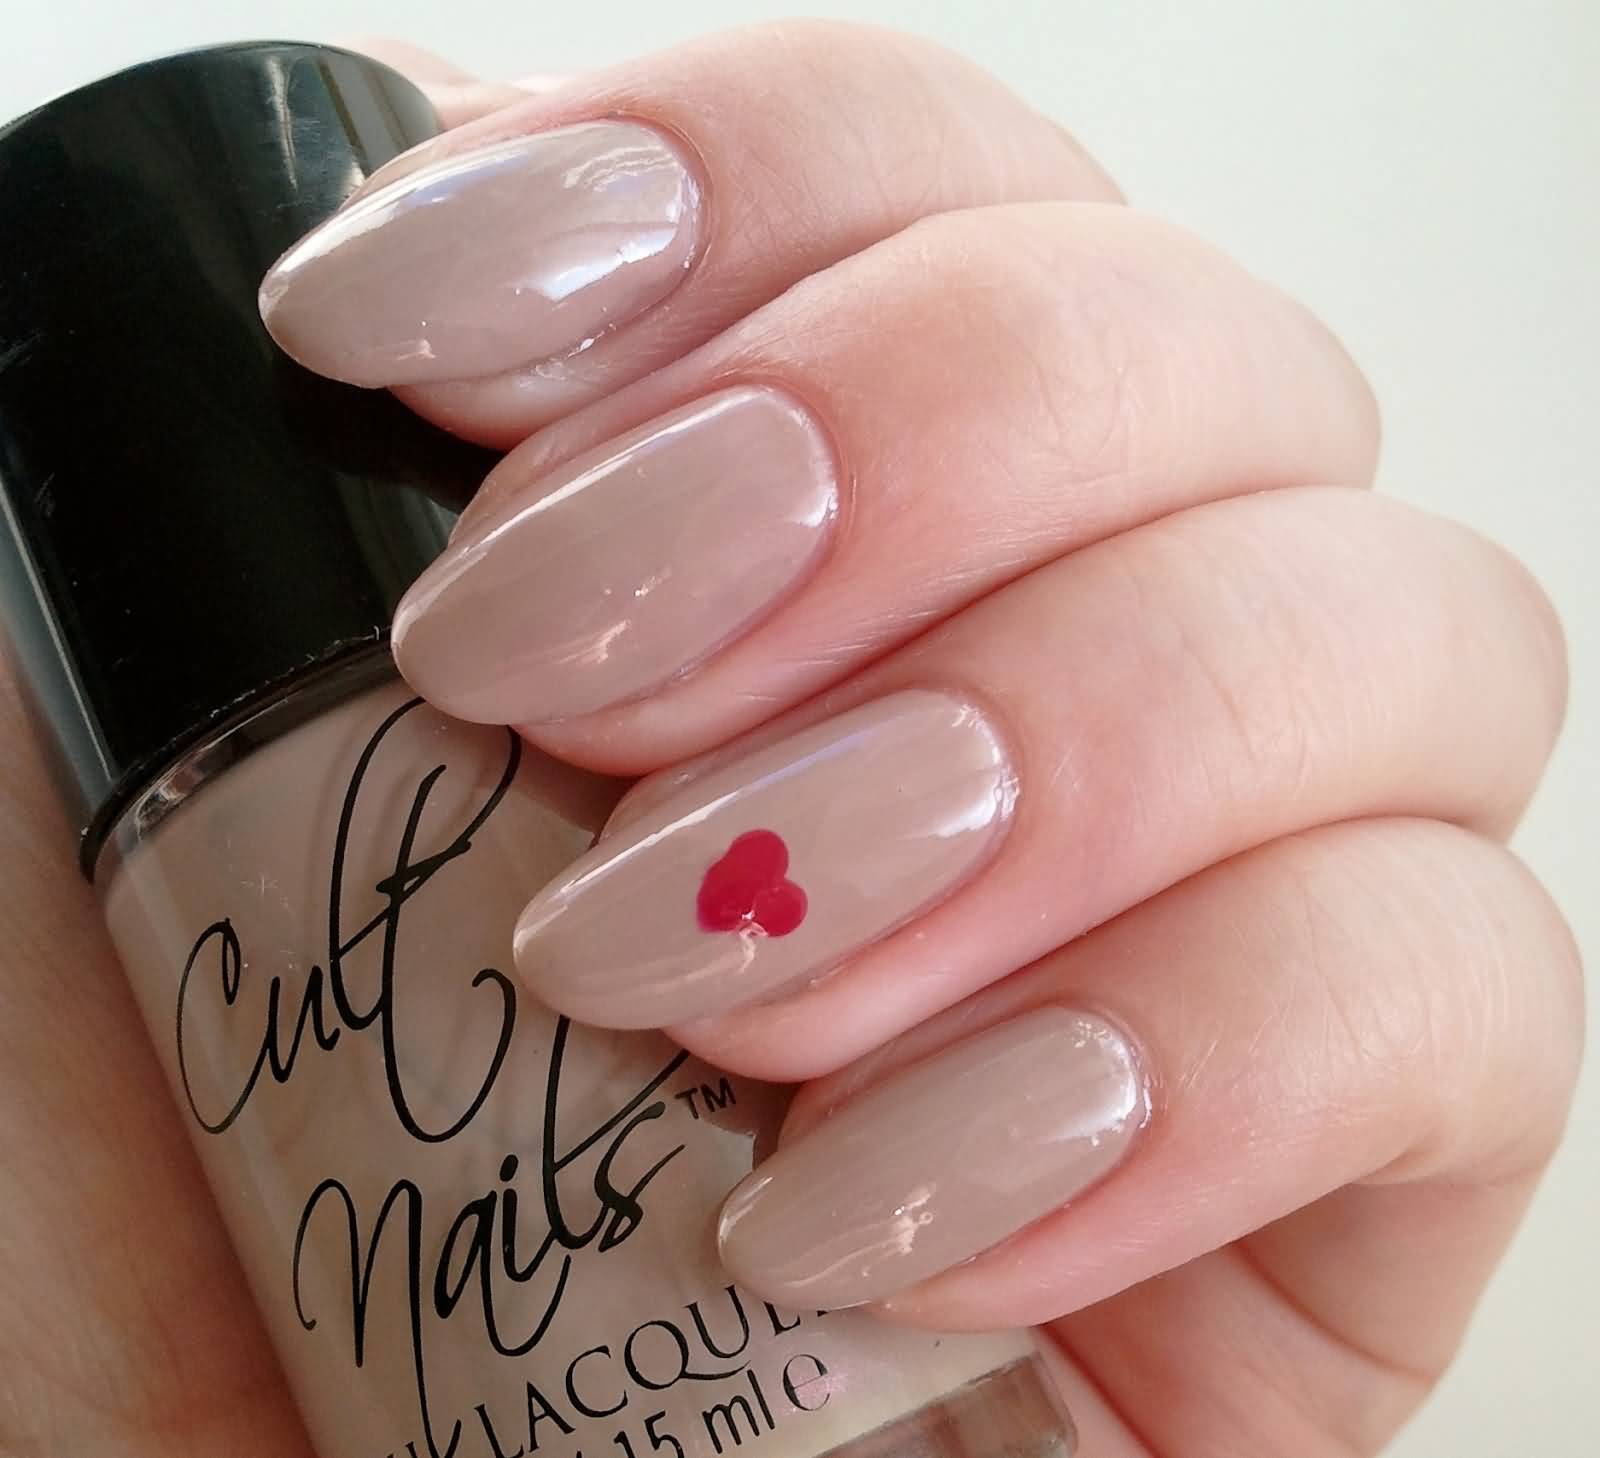
Option 1: Painting Freehand

If you have a steady hand, you can paint the hearts freehand using a thin nail art brush or a toothpick. Dip the brush or toothpick into the nail polish color of your choice and create two small dots next to each other. Then, connect the dots at the bottom with a curved line to form the top of the heart. Fill in the remaining space to complete the heart shape. Repeat this process on each nail.
Option 2: Using Tape as a Stencil

If you prefer a more precise and symmetrical look, you can use clear tape or nail striping tape as a stencil. Cut small pieces of tape into heart shapes and carefully place them on your nails. Make sure the edges are secure to prevent any polish from seeping through. Apply the desired nail polish color over the tape and let it dry completely. Gently peel off the tape to reveal perfect heart shapes on your nails.
Finishing Touches
Once you've created the heart designs on all your nails, it's time to add the finishing touches. Apply a top coat over the entire nail to seal the design and give it a glossy finish. This will also help your nail art last longer and prevent any chipping. Allow the top coat to dry completely before moving your hands.
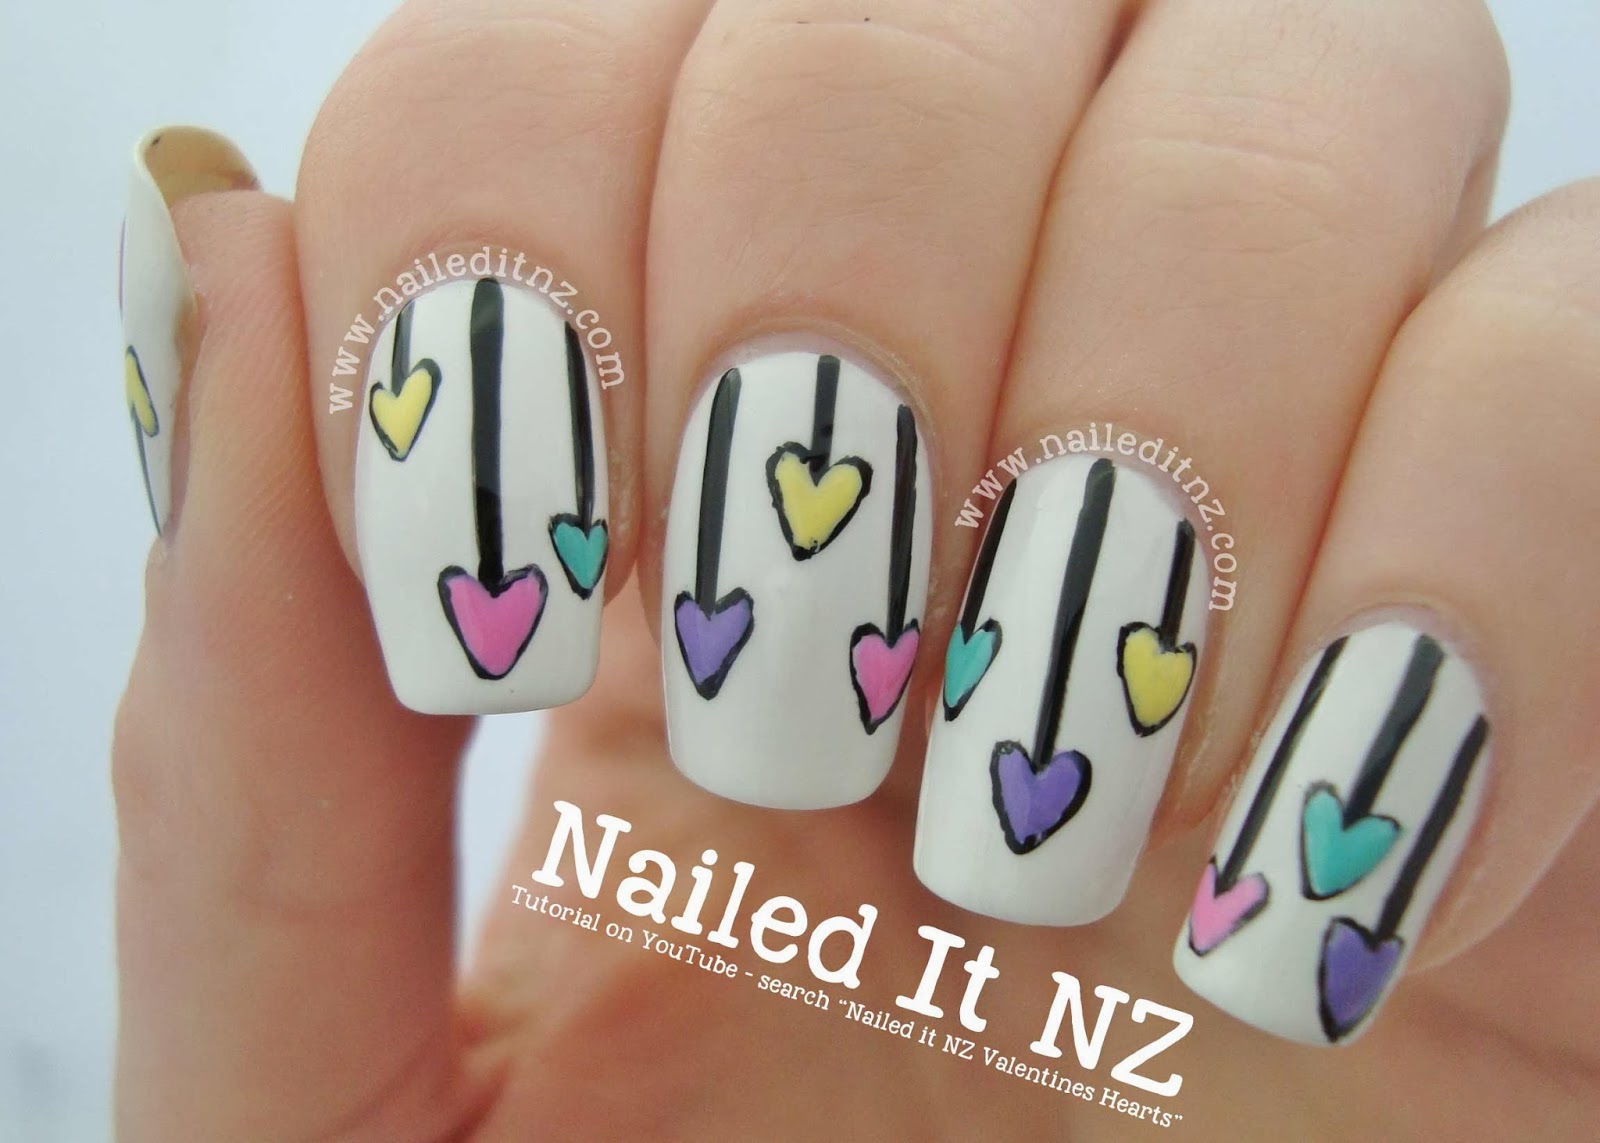
Express Your Style

Now that you have stunning heart-shaped nail art, you can express your style and personality by experimenting with different color combinations. You can choose classic red or pink for a timeless look, or get creative with pastels, neons, or metallic shades. The possibilities are endless, and you can change your nail art design whenever you feel like it!
Meta Description
Create beautiful and elegant heart-shaped nail art with this easy-to-follow guide. Learn how to prep your nails, choose the right supplies, and create stunning heart designs. Express your style with this timeless and versatile nail art!
Meta Keywords
nail art, heart design, simple nails, DIY nails, nail art tutorial
