
Introduction
October is the perfect time to embrace the spooky spirit and get creative with your nail art. One popular design that captures the essence of Halloween is the spider web nail art. With its intricate patterns and eerie vibes, spider web nails are a great way to add a touch of Halloween to your manicure. In this article, we will explore different ways to create spider web nail designs and provide some tips to help you achieve a stunning look. Let's dive in!
Tools and Materials
Before we get started, let's gather the necessary tools and materials to create spider web nails. Here's what you'll need:
- Base coat
- Black nail polish
- White nail polish
- Thin nail art brush or toothpick
- Dotting tool or bobby pin
- Top coat
Step-by-Step Guide
Follow these steps to create your own spider web nail art:
Step 1: Prep Your Nails
Start by prepping your nails. Remove any old nail polish and shape your nails to your desired length and shape. Apply a base coat to protect your nails and allow it to dry completely.

Step 2: Apply Black Polish
Once the base coat is dry, apply a black nail polish as the base color for your spider web design. Apply two coats if needed and let it dry completely.

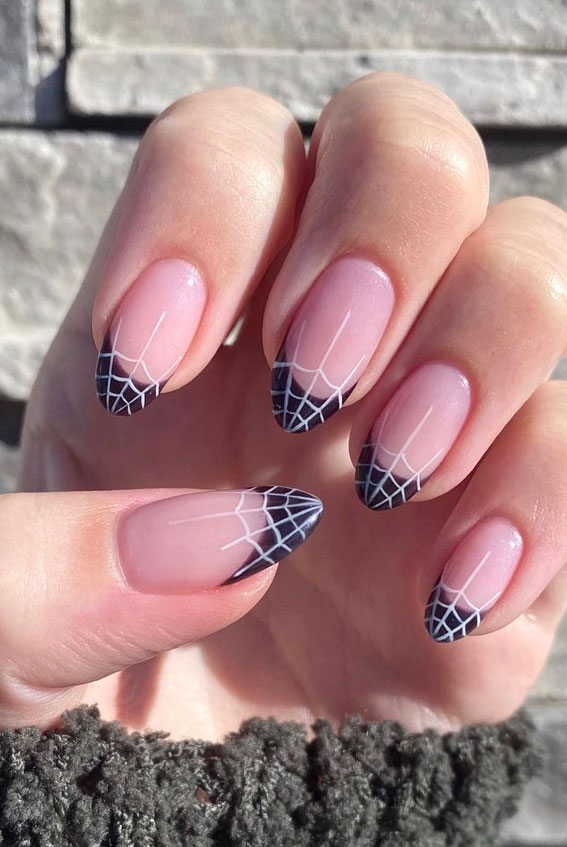
Step 3: Create the Spider Web
Using a thin nail art brush or a toothpick dipped in white nail polish, create a small white dot near the cuticle area. This dot will serve as the center of your spider web. From the center dot, draw three or four lines that intersect, radiating outwards.

Step 4: Add the Web Details
Using the same white nail polish, connect the lines with curved lines to create the intricate pattern of the spider web. Make sure to leave some gaps between the lines to give it a realistic look. You can also add smaller curved lines inside the web to make it more detailed.

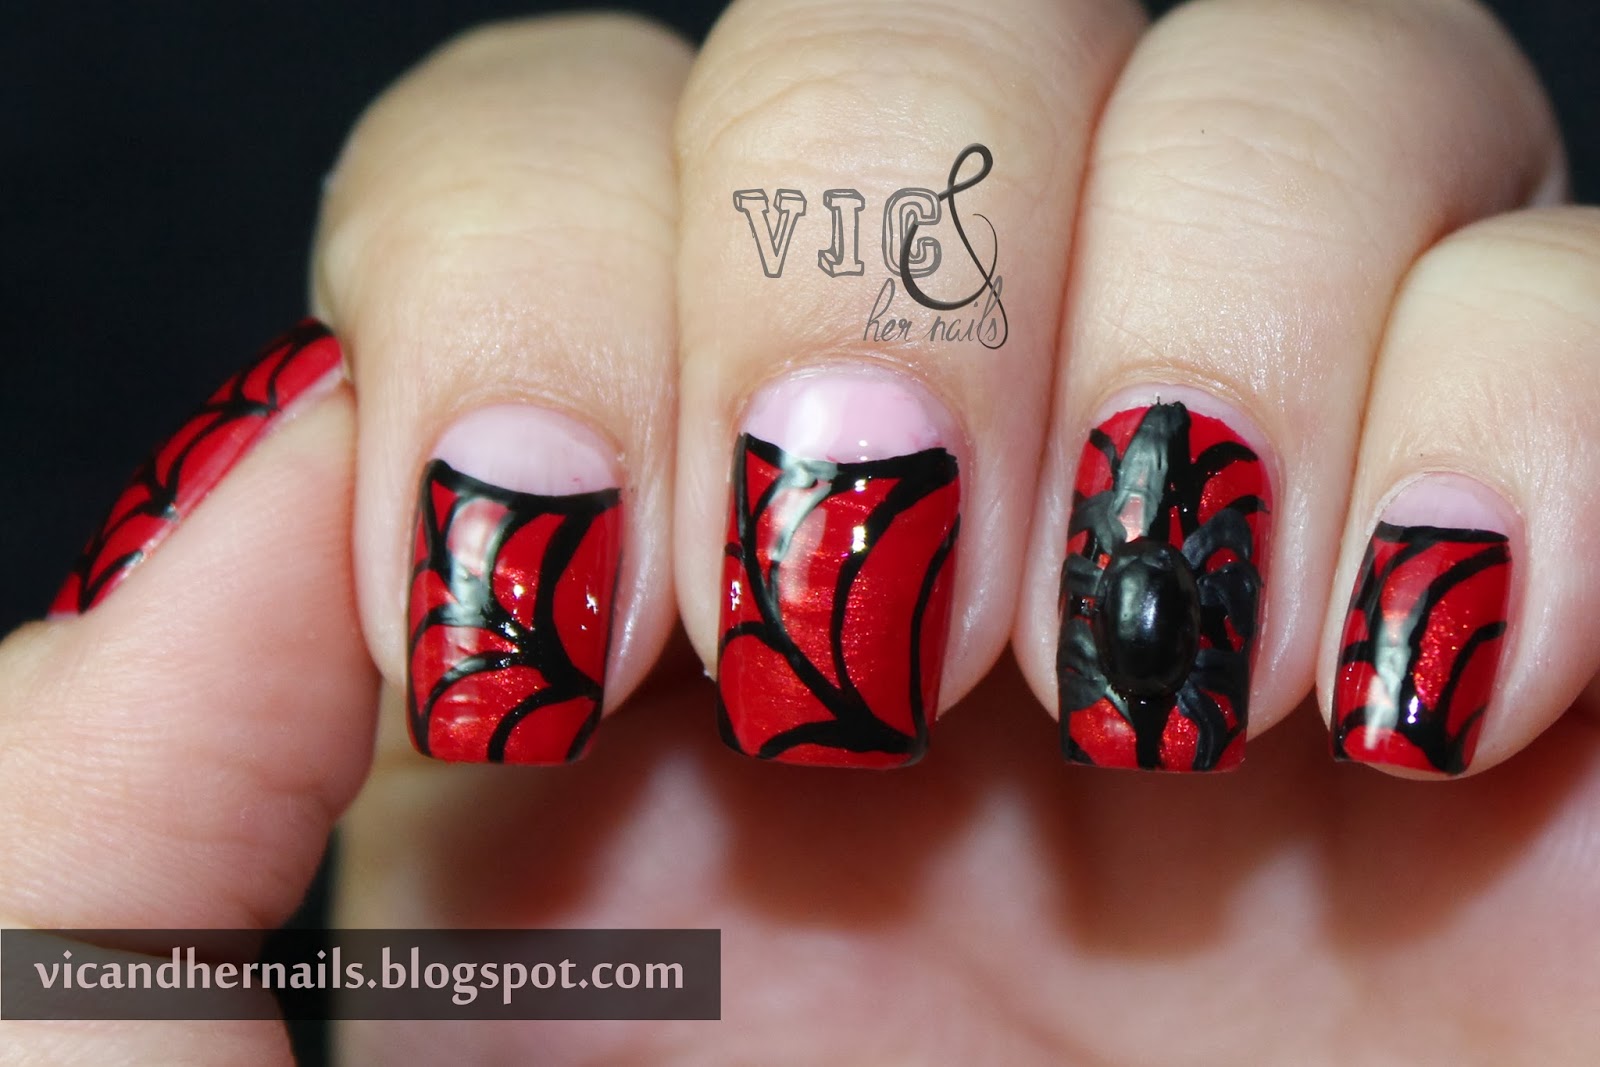
Step 5: Create the Spider
To complete the look, use a dotting tool or a bobby pin dipped in black nail polish to create a small spider near the edge of the web. Start with a larger dot for the body and add smaller dots for the legs. You can also experiment with different spider sizes and positions.

Step 6: Seal with Top Coat
Once your spider web design is complete, allow it to dry for a few minutes and then seal it with a top coat. The top coat will protect your design and give it a glossy finish. Make sure to apply the top coat carefully to avoid smudging the design.

Tips for Perfect Spider Web Nails
Here are some additional tips to help you achieve perfect spider web nails:
- Practice on a nail wheel or a piece of paper before attempting the design on your nails.
- Use a thin brush or toothpick to create precise lines and curves.
- Experiment with different nail polish colors for the base and spider web to add a unique twist to your design.
- Apply a white or nude base coat before the black polish to make the spider web design pop.
- Clean up any mistakes or smudges with a small brush dipped in nail polish remover.
Conclusion
Spider web nails are a fantastic way to embrace the Halloween spirit in October. With a few simple steps and the right tools, you can create stunning spider web nail art that will impress everyone. Remember to practice and experiment with different designs to find your unique style. Enjoy the process and have fun creating spooky and stylish nails for the Halloween season!
