
Beautifully manicured nails can instantly enhance your overall appearance. Ombre nails, also known as gradient nails, have gained immense popularity in recent years. This trendy and stylish nail art technique involves blending two or more colors to create a seamless and eye-catching gradient effect. Ombre nails can be done in various shades and styles, but in this article, we will focus on the captivating beauty of ombre nails in a single color - Ombre Nails 1 Màu.
The Allure of Ombre Nails 1 Màu
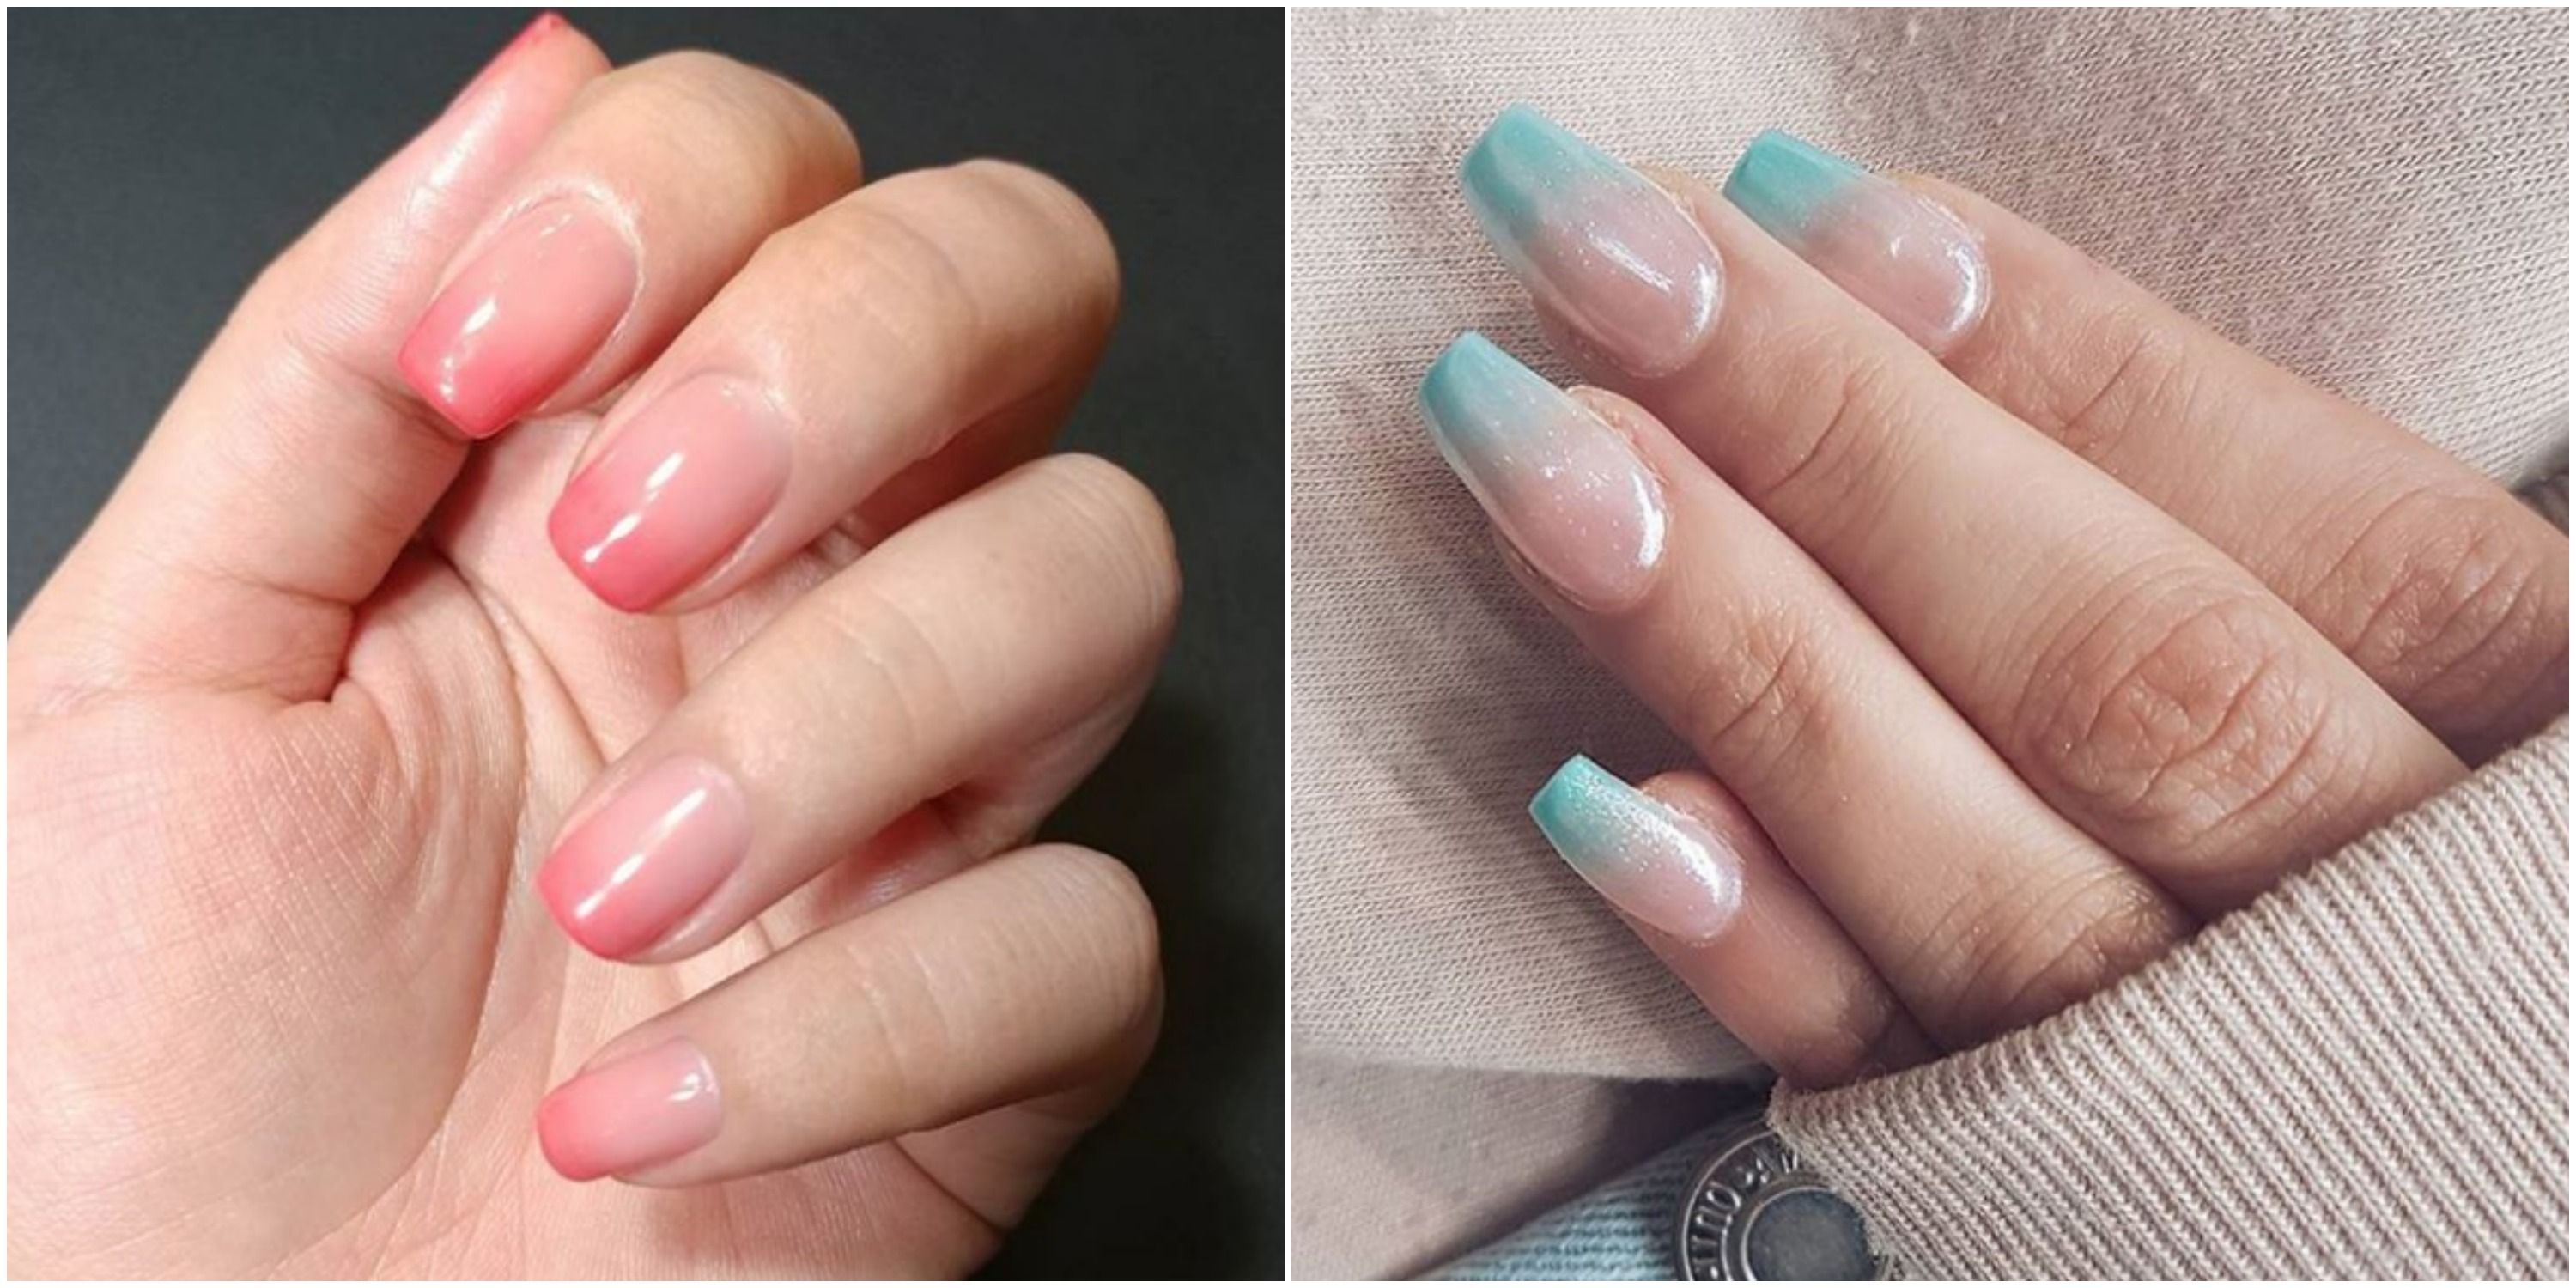
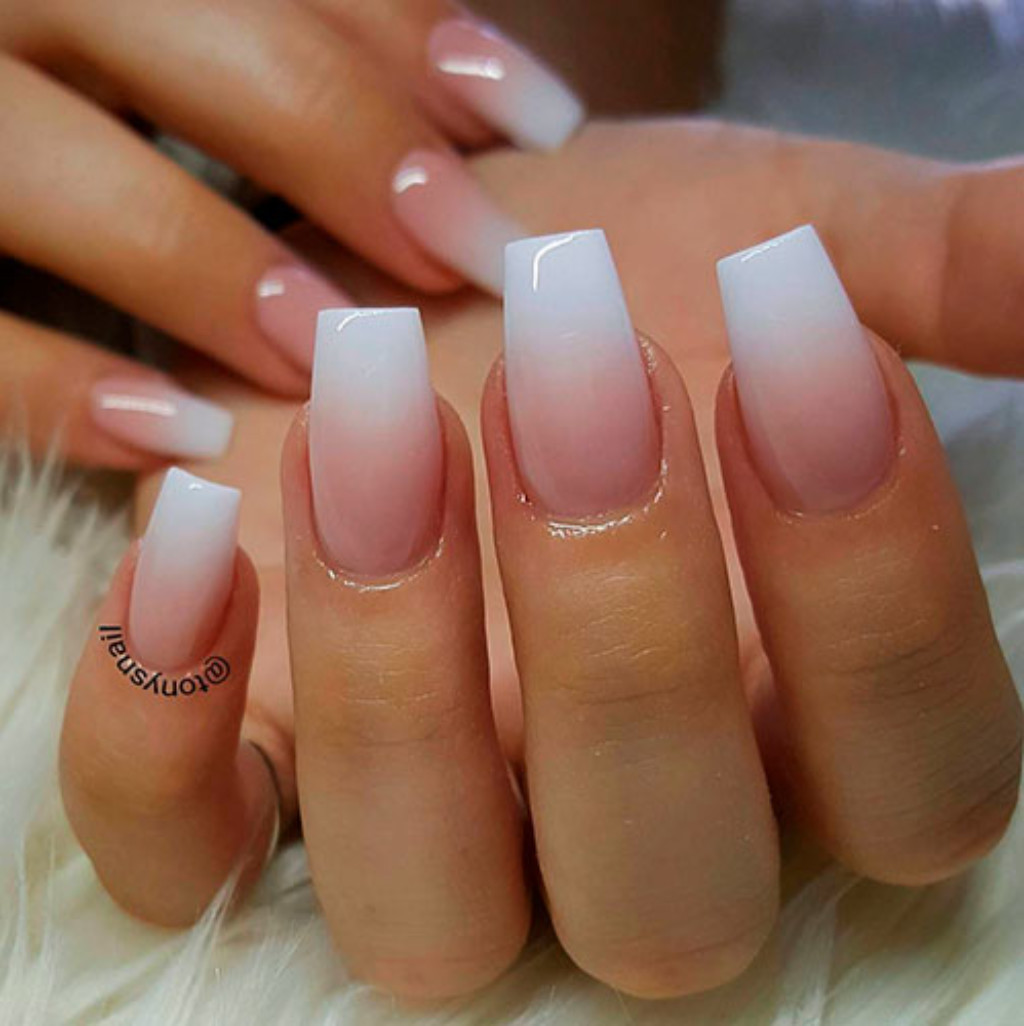
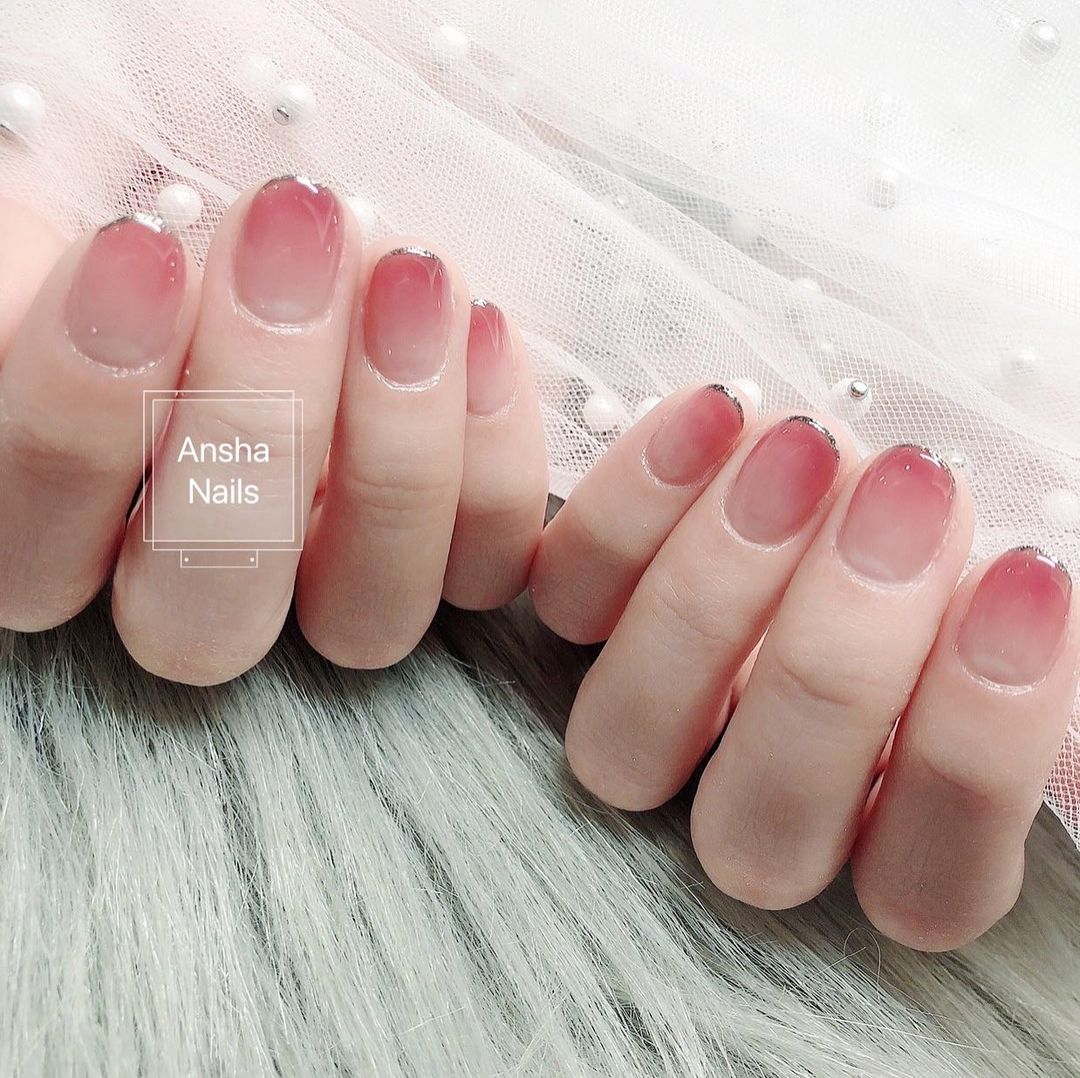
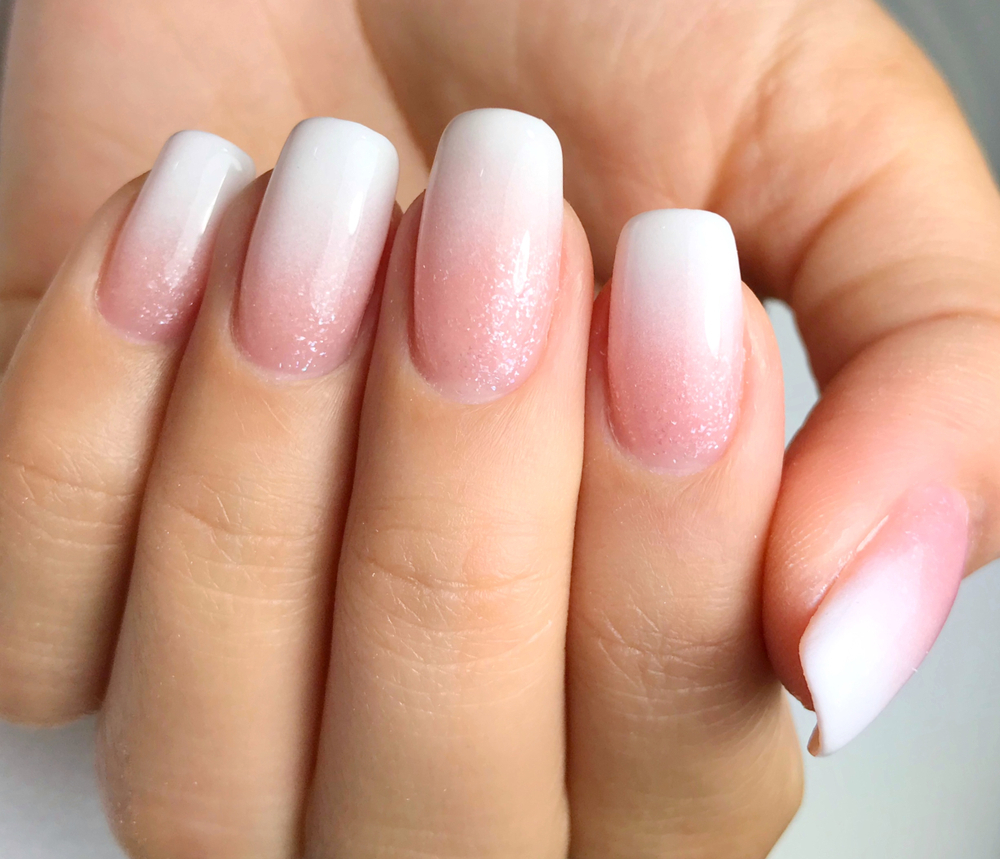
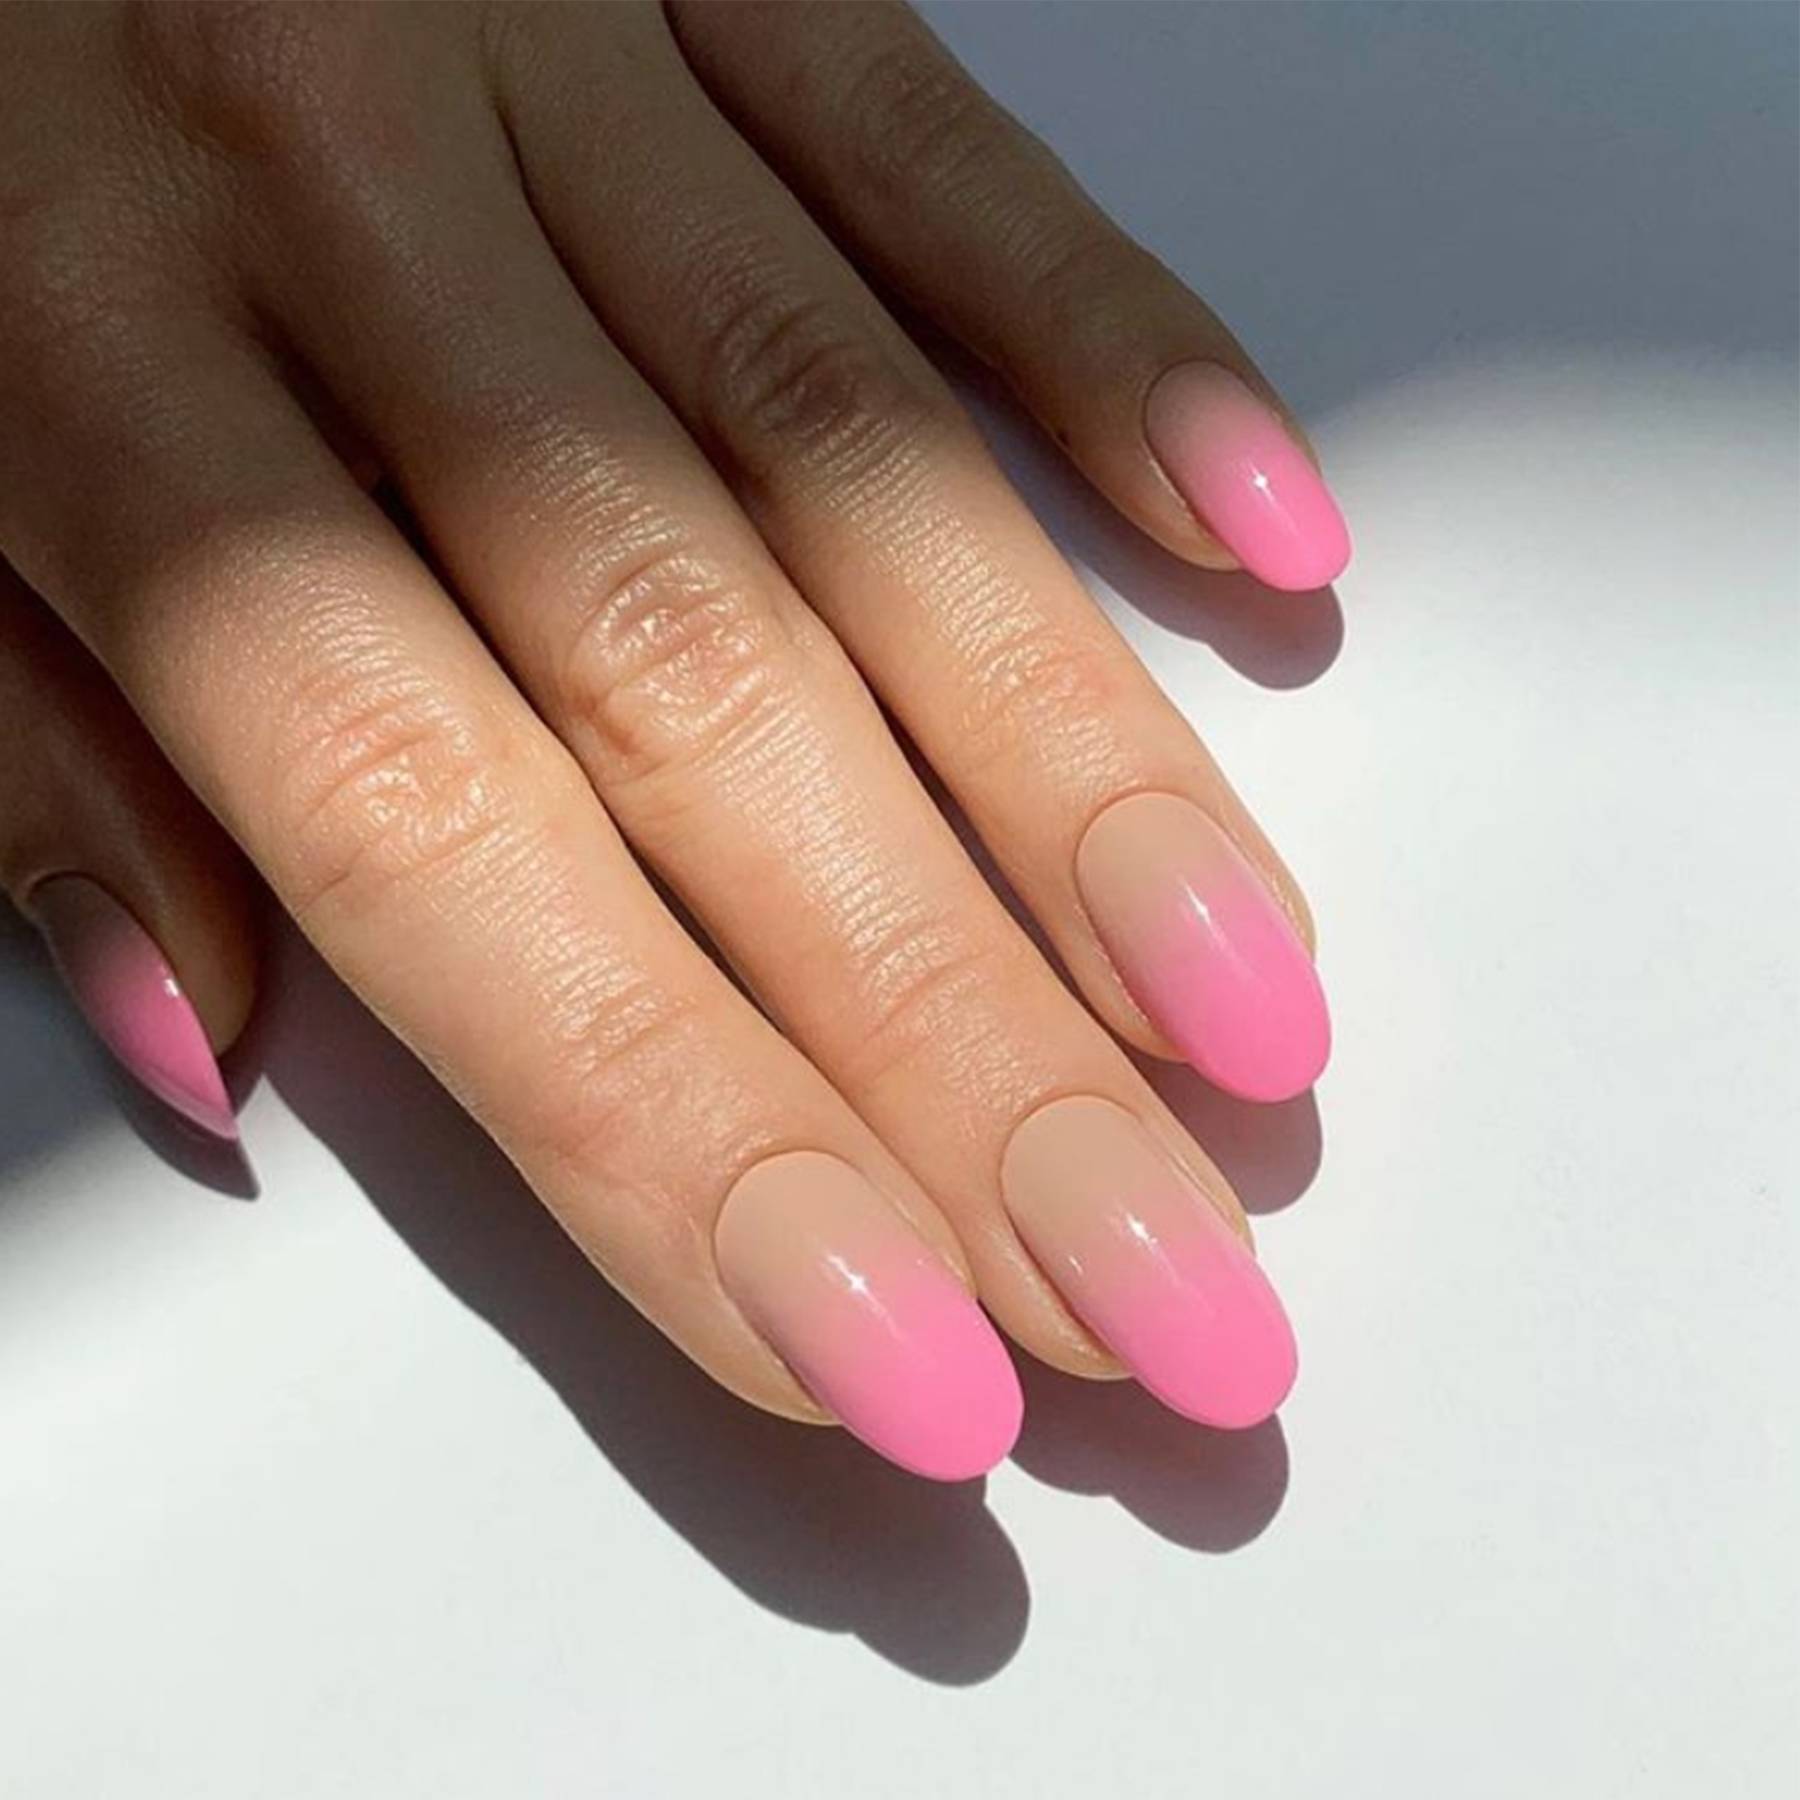
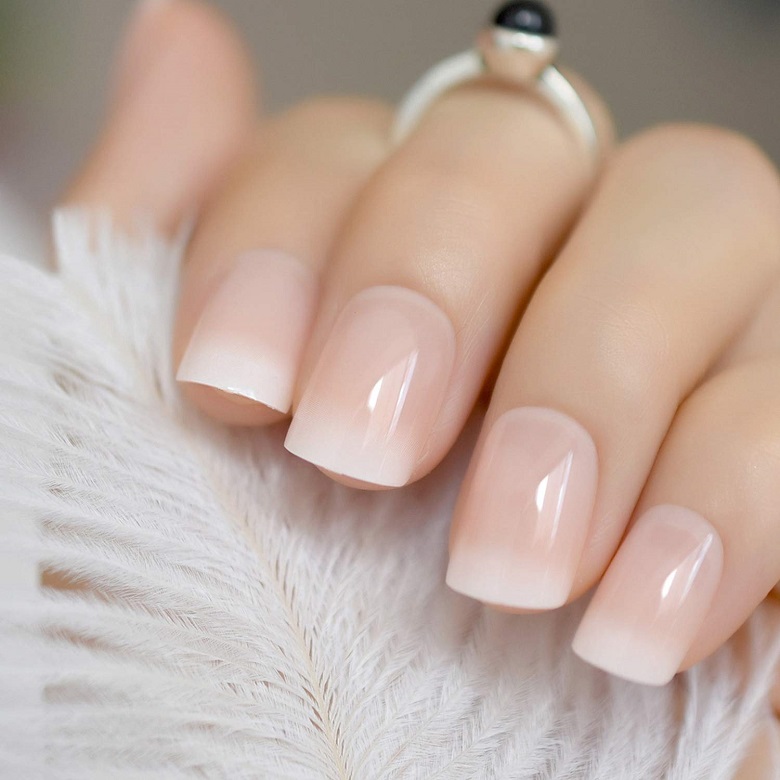
Ombre Nails 1 Màu, which translates to "ombre nails in one color" in Vietnamese, offers a sophisticated and elegant twist to the traditional ombre nail art. This monochromatic approach creates a seamless gradient effect using varying shades of a single color. The result is a visually appealing and harmonious nail design that complements any outfit or occasion.
Choosing the Perfect Color
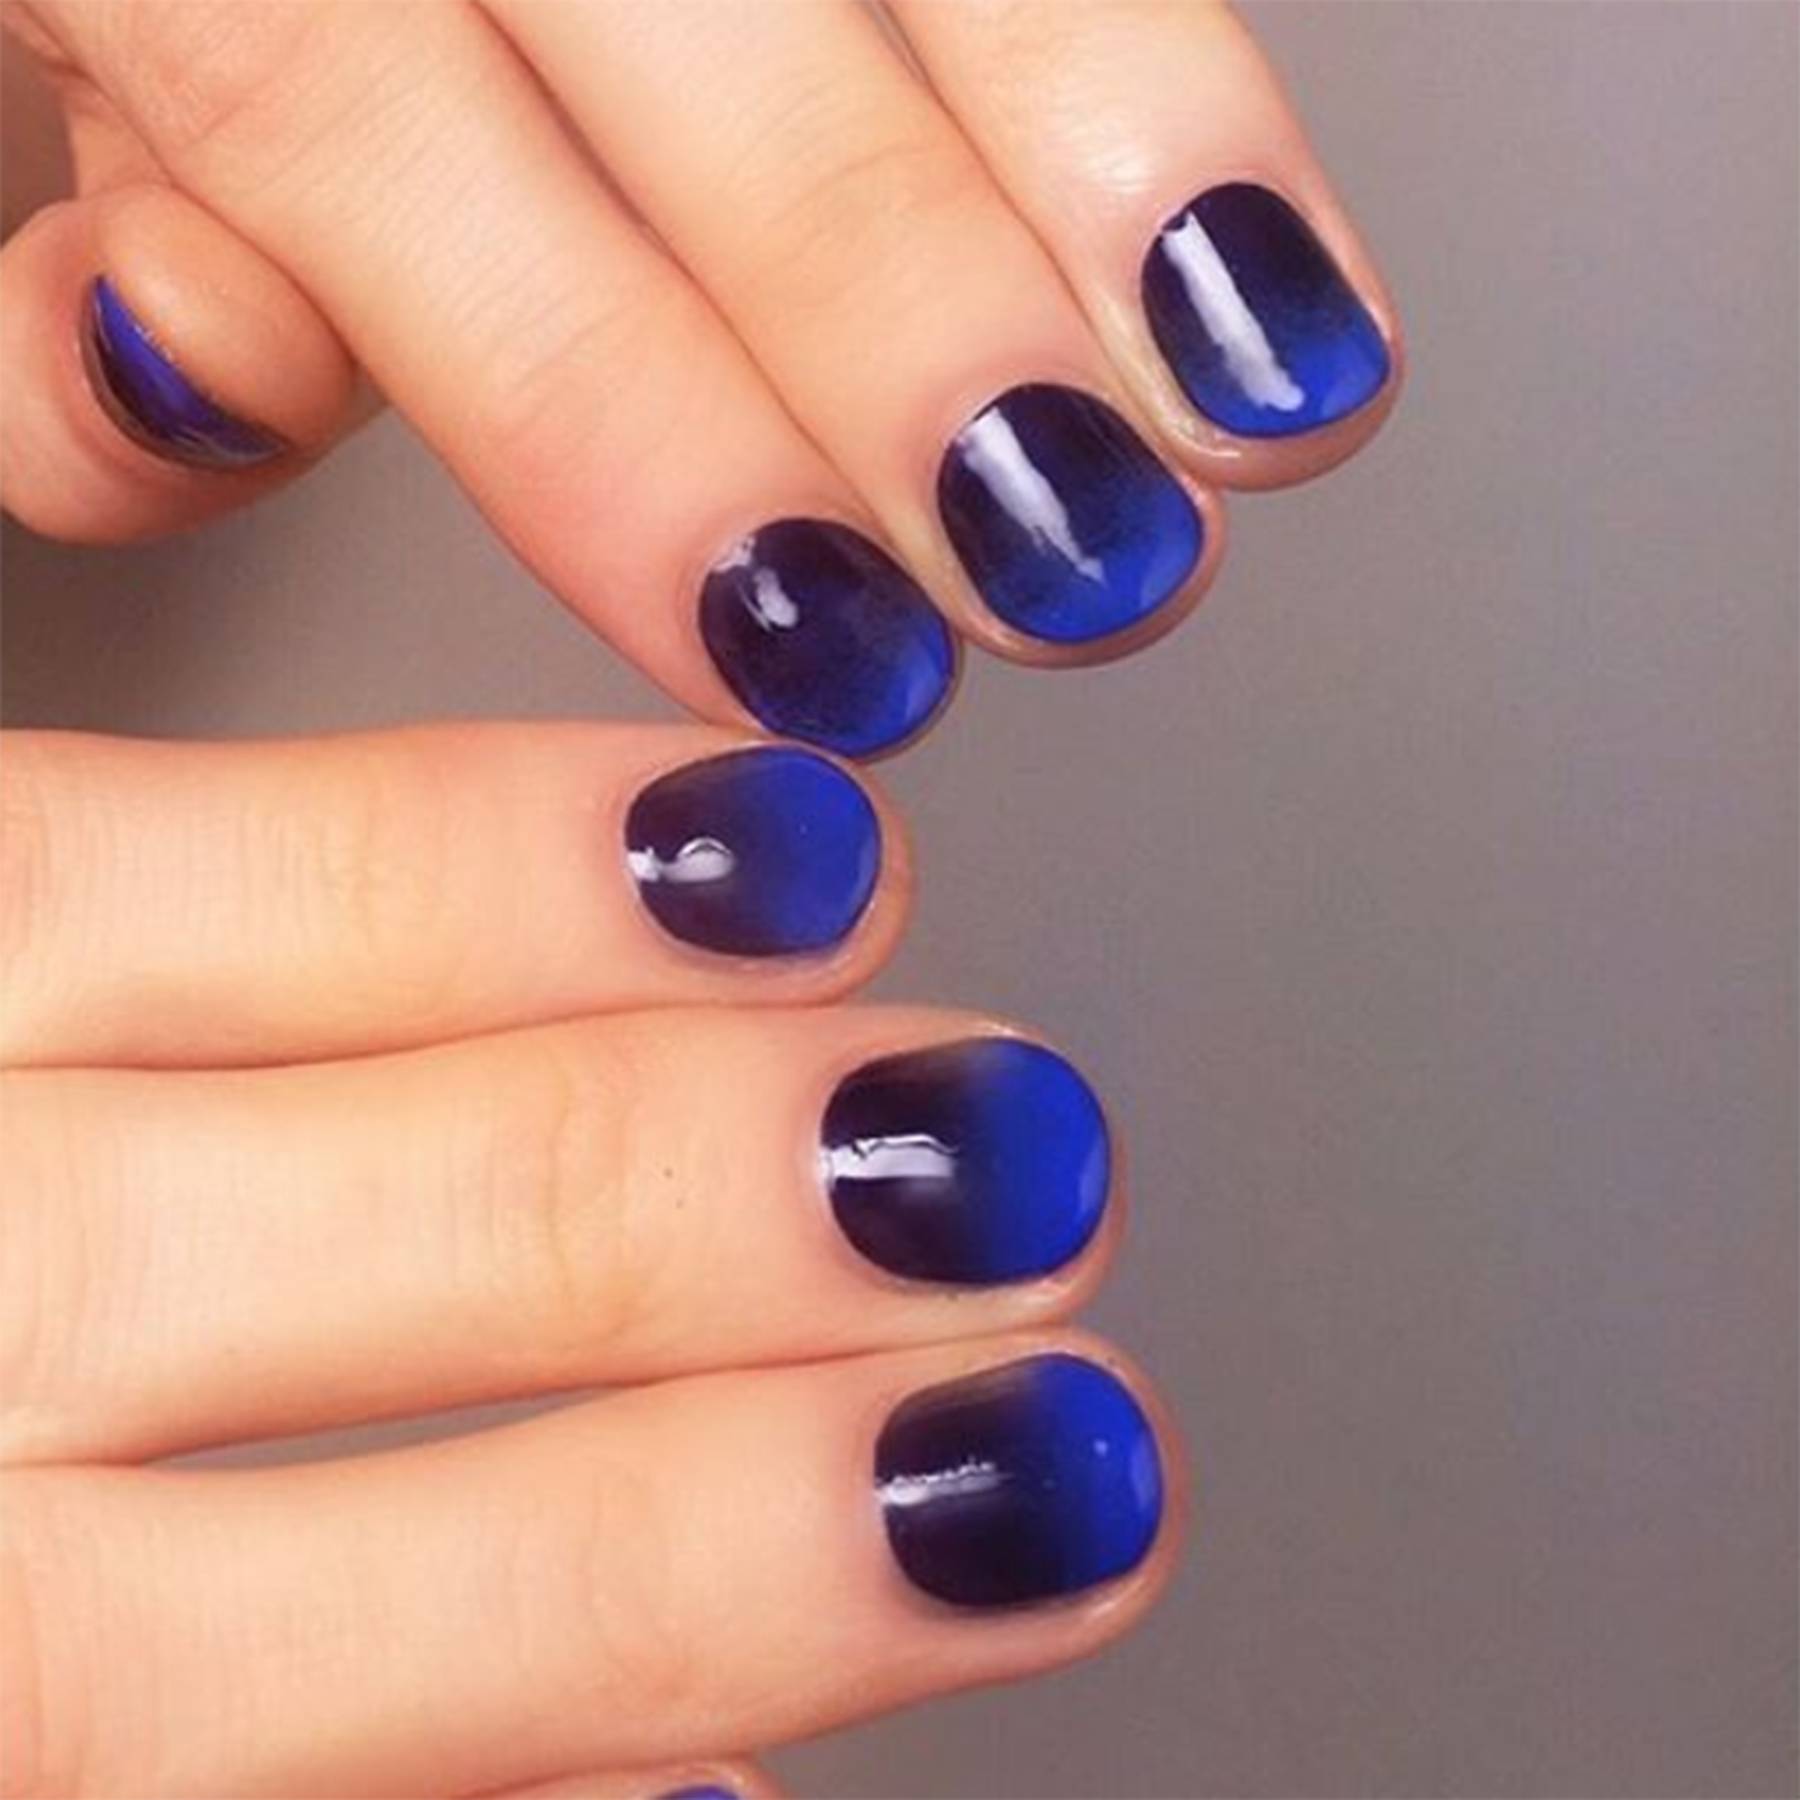
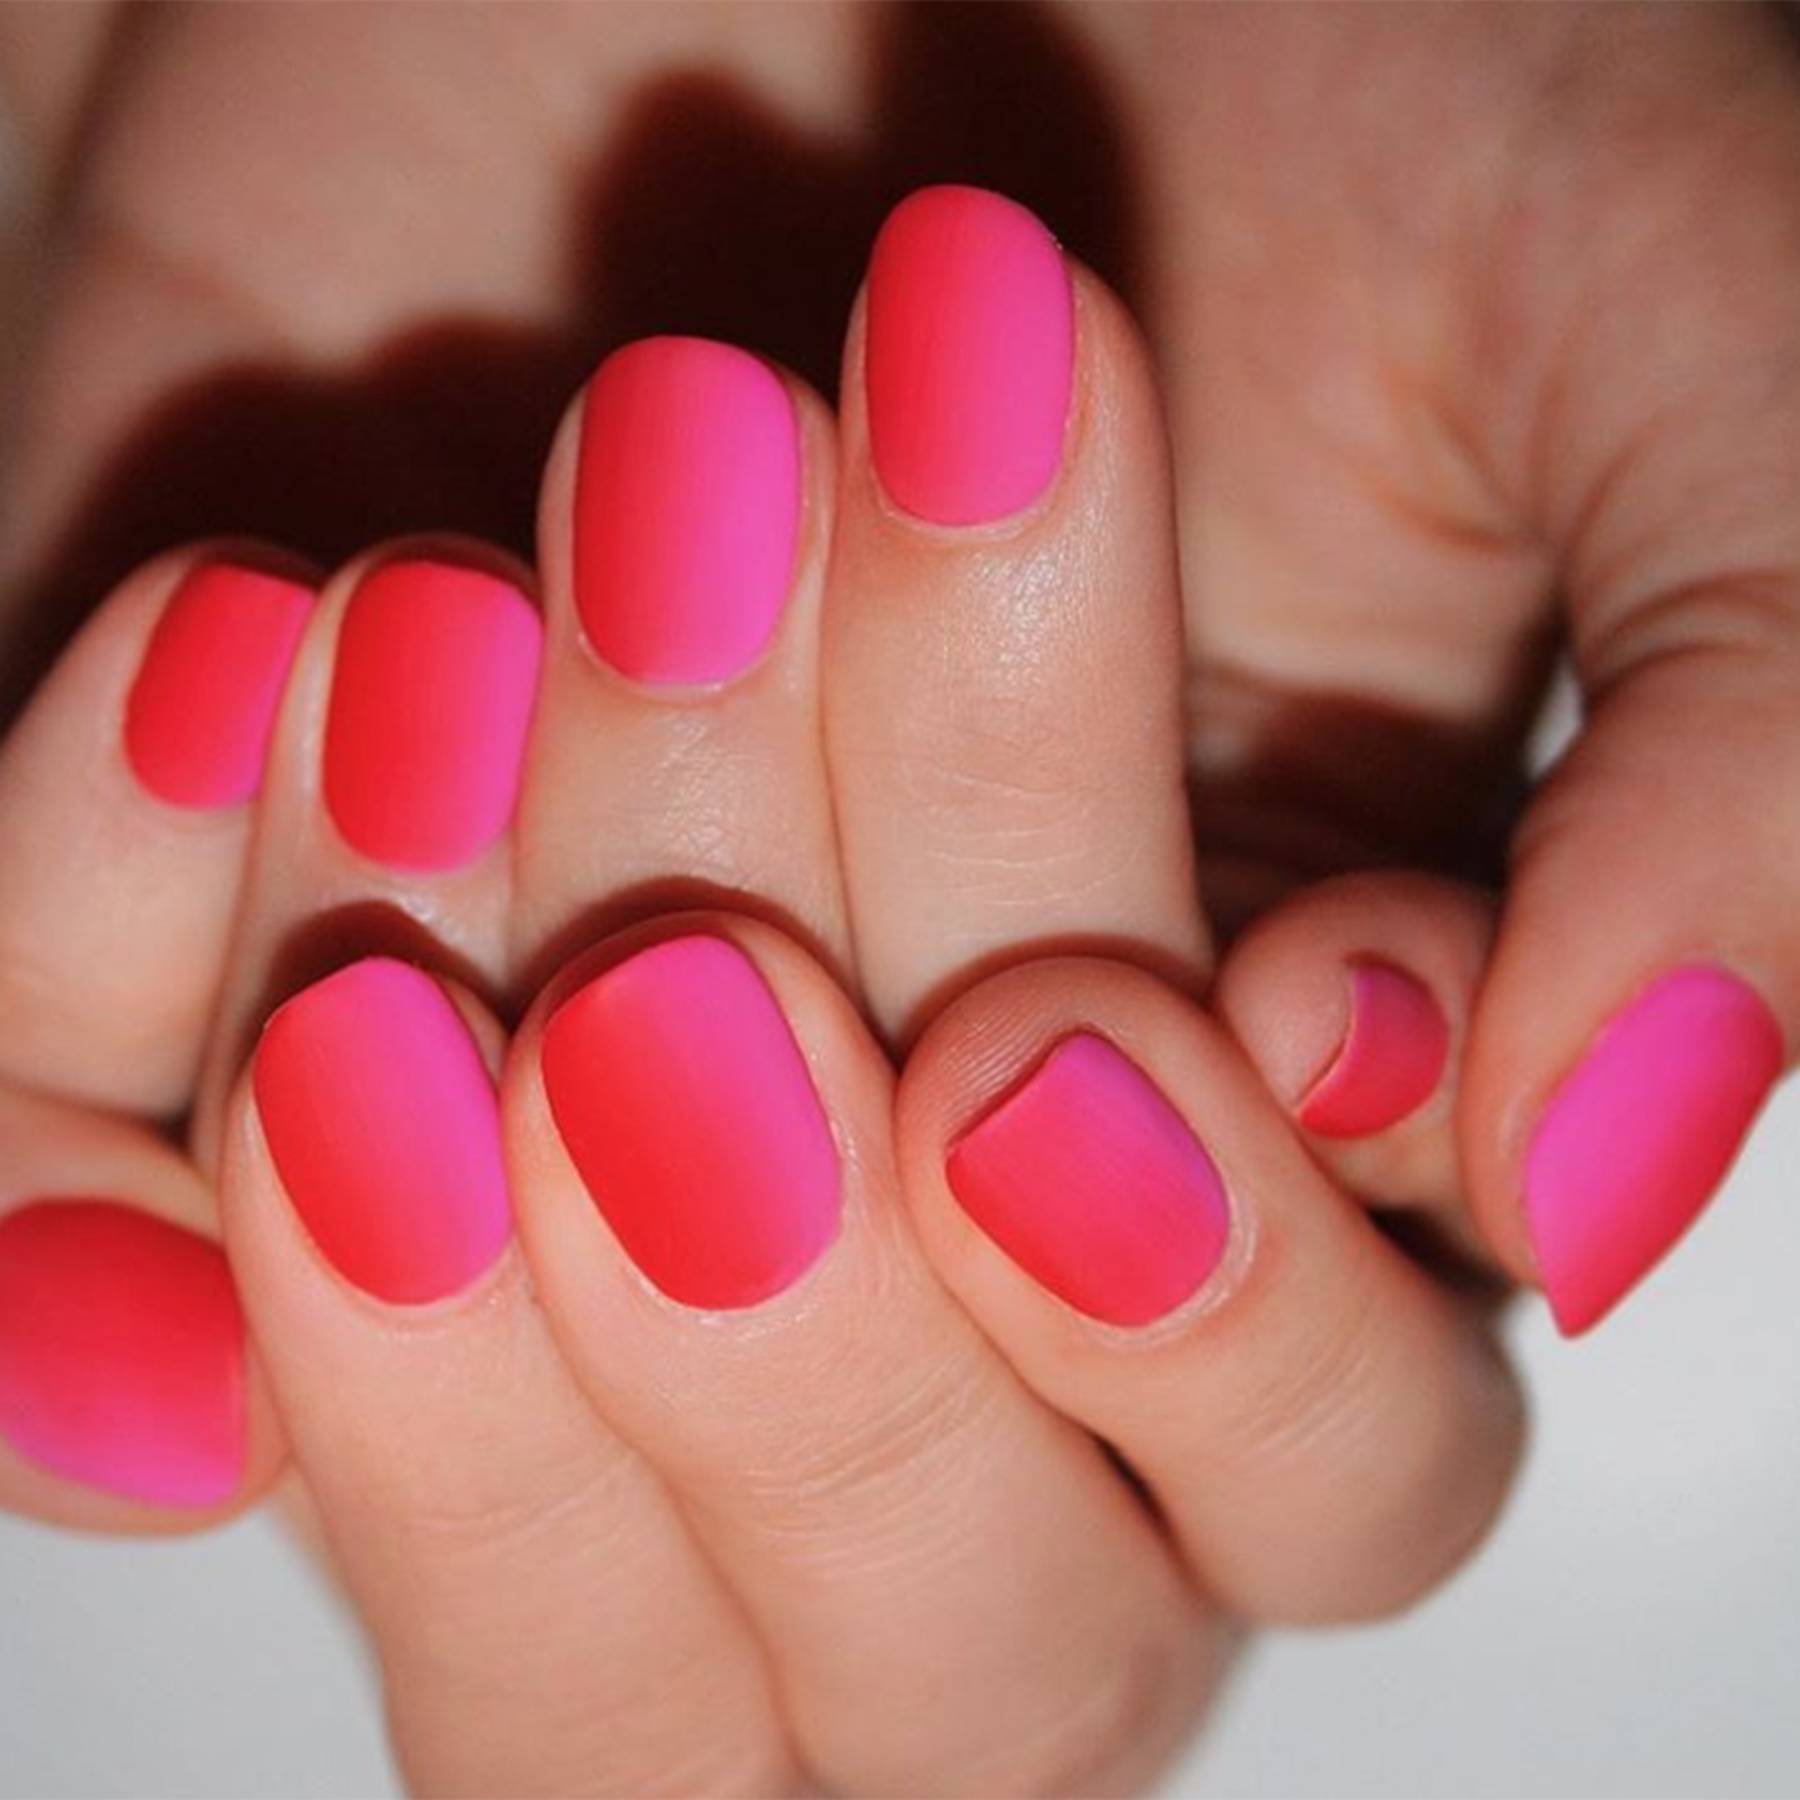
When it comes to Ombre Nails 1 Màu, selecting the right color is crucial. You can opt for a classic and timeless look by choosing shades of nude, beige, or soft pink. These neutral tones are versatile and suitable for any event. On the other hand, if you want to make a bold statement, vibrant colors like red, blue, or purple can create a striking effect. The choice of color depends on your personal style and the occasion you are preparing for.
Preparing Your Nails

Before diving into the mesmerizing world of Ombre Nails 1 Màu, it's essential to prepare your nails properly. Start by removing any existing nail polish and filing your nails into the desired shape. Next, gently push back your cuticles and use a buffing block to smooth out the surface of your nails. This step ensures a clean canvas for the ombre nail art and helps the polish adhere better to your nails.
Essential Tools and Materials
To achieve flawless Ombre Nails 1 Màu, you will need a few essential tools and materials. Here's a list of what you'll need:
- A base coat to protect your natural nails.
- At least three shades of the same color, ranging from light to dark.
- A makeup sponge or a special ombre sponge for the gradient effect.
- A small piece of foil or a palette for mixing the colors.
- A top coat to seal and protect the design.
Step-by-Step Guide to Achieving Ombre Nails 1 Màu
Now let's dive into the step-by-step process of creating your own stunning Ombre Nails 1 Màu:
Step 1: Apply a Base Coat
Begin by applying a thin layer of base coat to protect your natural nails from staining and to improve the longevity of your manicure.
Step 2: Prepare the Sponge

Dampen the makeup sponge or ombre sponge and squeeze out any excess water. This allows the sponge to absorb the polish properly and ensures a smooth gradient effect.
Step 3: Apply the Lightest Shade
Apply the lightest shade of your chosen color to the sponge. Gently dab the sponge onto your nails, starting from the cuticle area and working towards the tip. Repeat this step until you achieve the desired intensity of the lightest shade.
Step 4: Blend the Colors
Overlap the sponge with the next darker shade and dab it onto the middle section of your nails, slightly overlapping with the lightest shade. Blend the colors together using a gentle patting motion. Repeat this step with the darkest shade on the tip of your nails, creating a seamless gradient effect.
Step 5: Clean Up Excess Polish
Use a small brush dipped in acetone or a nail polish remover pen to clean up any excess polish around your nails and cuticles. This step helps achieve a neat and professional finish.
Step 6: Seal with a Top Coat

To protect your ombre design and add a glossy finish, apply a generous layer of top coat. This step also helps to blend the colors seamlessly and increases the longevity of your manicure.
Caring for Your Ombre Nails 1 Màu

With proper care, your Ombre Nails 1 Màu can last for up to two weeks. Here are some essential tips to maintain the beauty and longevity of your manicure:
Moisturize Daily

Keep your nails and cuticles hydrated by applying a nourishing cuticle oil or hand cream daily. This prevents dryness and promotes healthy nail growth.
Avoid Harsh Chemicals
Protect your ombre design by wearing gloves while using harsh cleaning agents or chemicals. These substances can cause the polish to chip or fade prematurely.
Be Gentle with Your Nails
Avoid using your nails as tools to open packages or perform other tasks that may cause them to break or chip. Treat your ombre nails with care to maintain their flawless appearance.
Experiment with Ombre Nails 1 Màu
Ombre Nails 1 Màu offers endless possibilities for creativity and personalization. You can experiment with different shades, textures, and even combine multiple colors within the same gradient. Let your imagination run wild and create unique ombre designs that reflect your style and personality.
Conclusion
Ombre Nails 1 Màu is a stunning nail art technique that adds a touch of elegance and sophistication to your manicure. With the right colors, tools, and techniques, you can achieve a flawless and eye-catching gradient effect. So, unleash your creativity and embrace the beauty of Ombre Nails 1 Màu for a truly mesmerizing nail art experience.
