Introduction
Are you tired of the same old nail designs and looking to spice things up? Look no further! Quilted nails are a trendy and unique way to elevate your nail game. This article will guide you through a step-by-step tutorial on how to achieve stunning quilted nails that will surely turn heads. Get ready to unleash your creativity and transform your nails into a work of art!
Gather Your Supplies
Before diving into the tutorial, make sure you have all the necessary supplies. You'll need:
- Base coat
- Two contrasting nail polish colors
- A thin nail art brush
- Top coat
- Cotton swabs
- Nail polish remover
Prep Your Nails

Start by removing any existing nail polish using a cotton swab and nail polish remover. Once your nails are clean, shape them to your desired length and file away any rough edges. Apply a base coat to protect your natural nails and promote longevity for your quilted design.
Select Your Colors
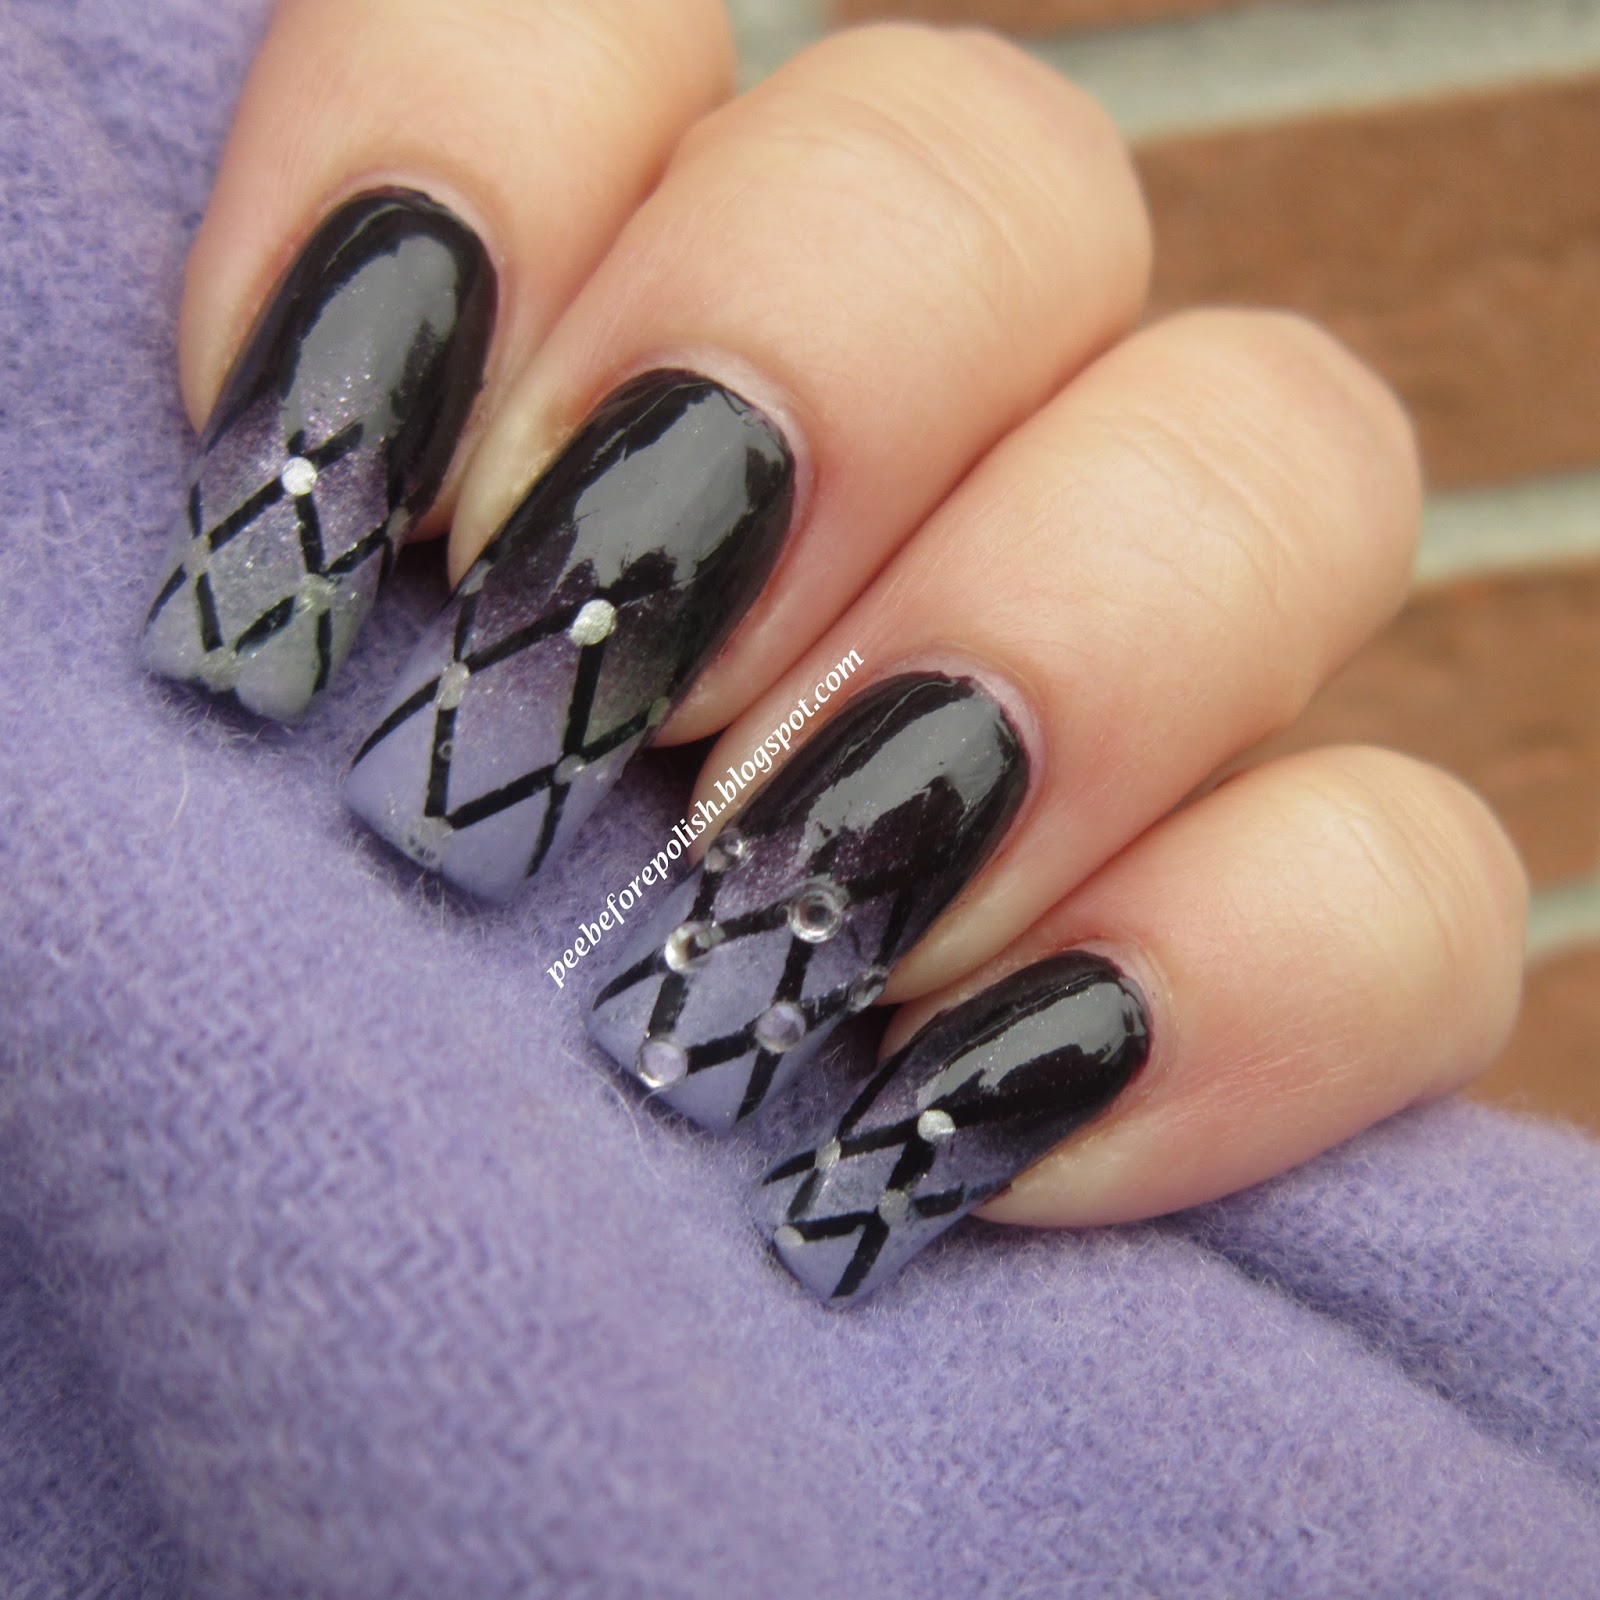
Choosing the right color combination is crucial for achieving a stunning quilted effect. Opt for two contrasting colors that complement each other. For example, a classic combination is black and white, but feel free to experiment with other shades that match your personal style.
Paint Your Base

Apply your chosen base color to all your nails. Ensure that the color is opaque and even. Let the base color dry completely before moving on to the next step. This will prevent smudging and ensure a clean quilted design.
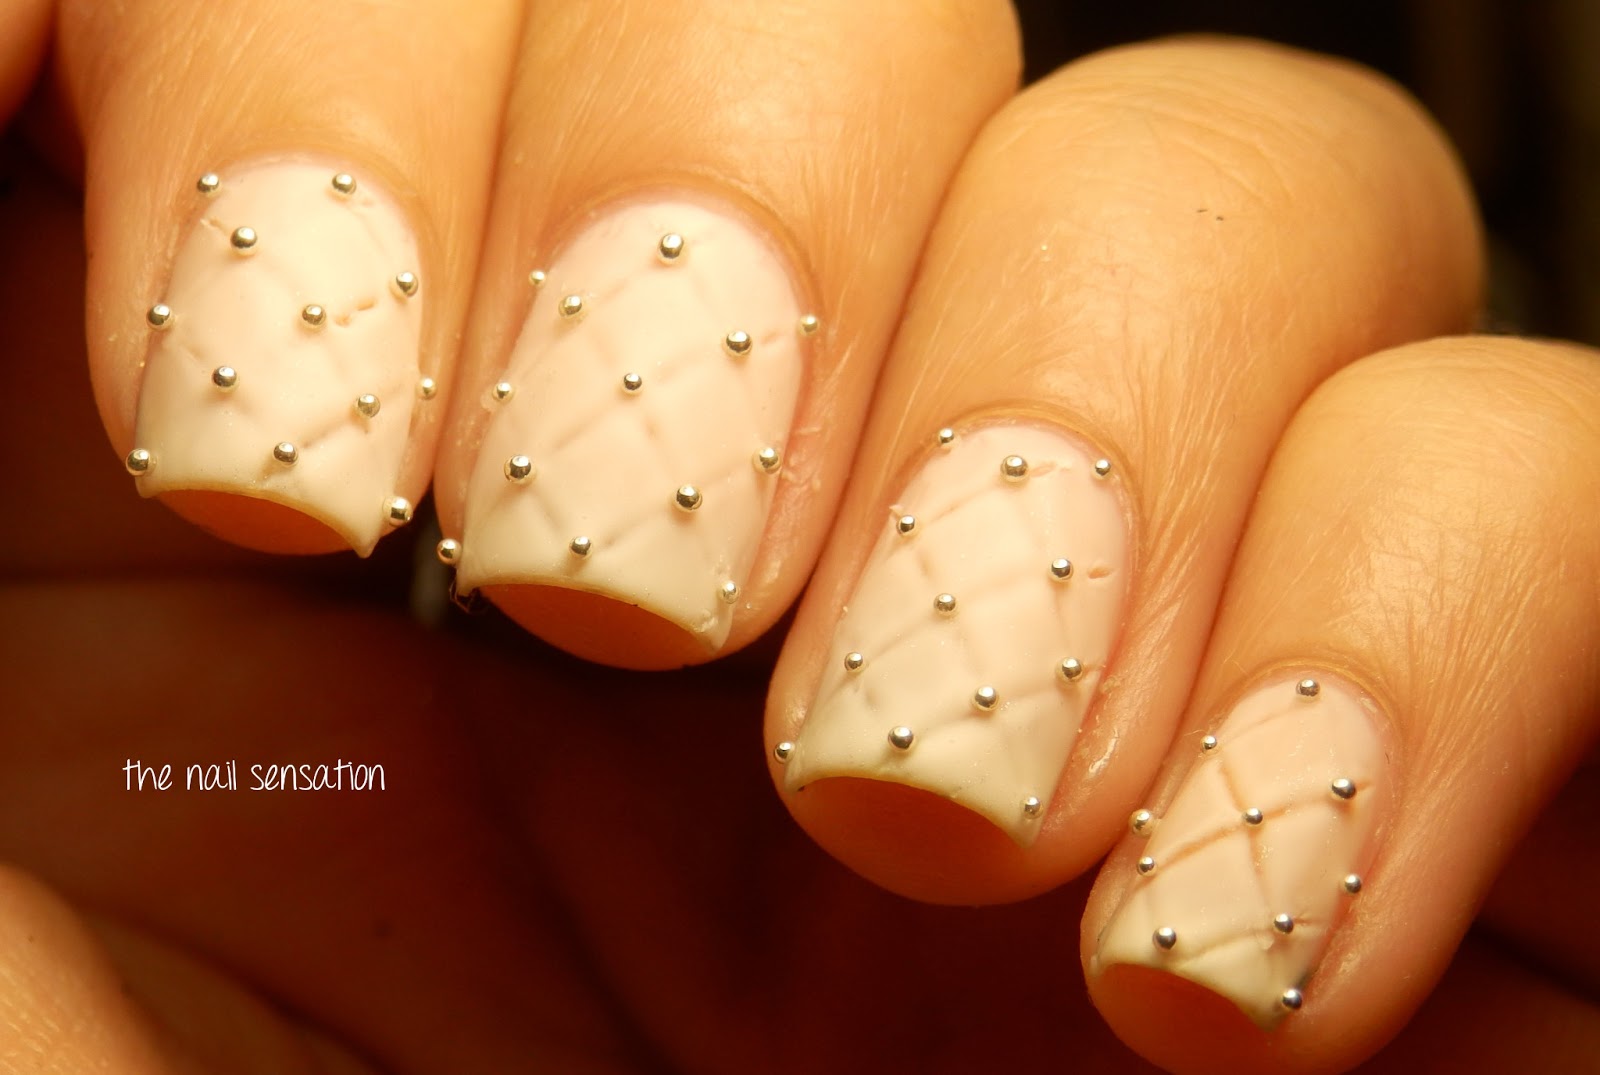
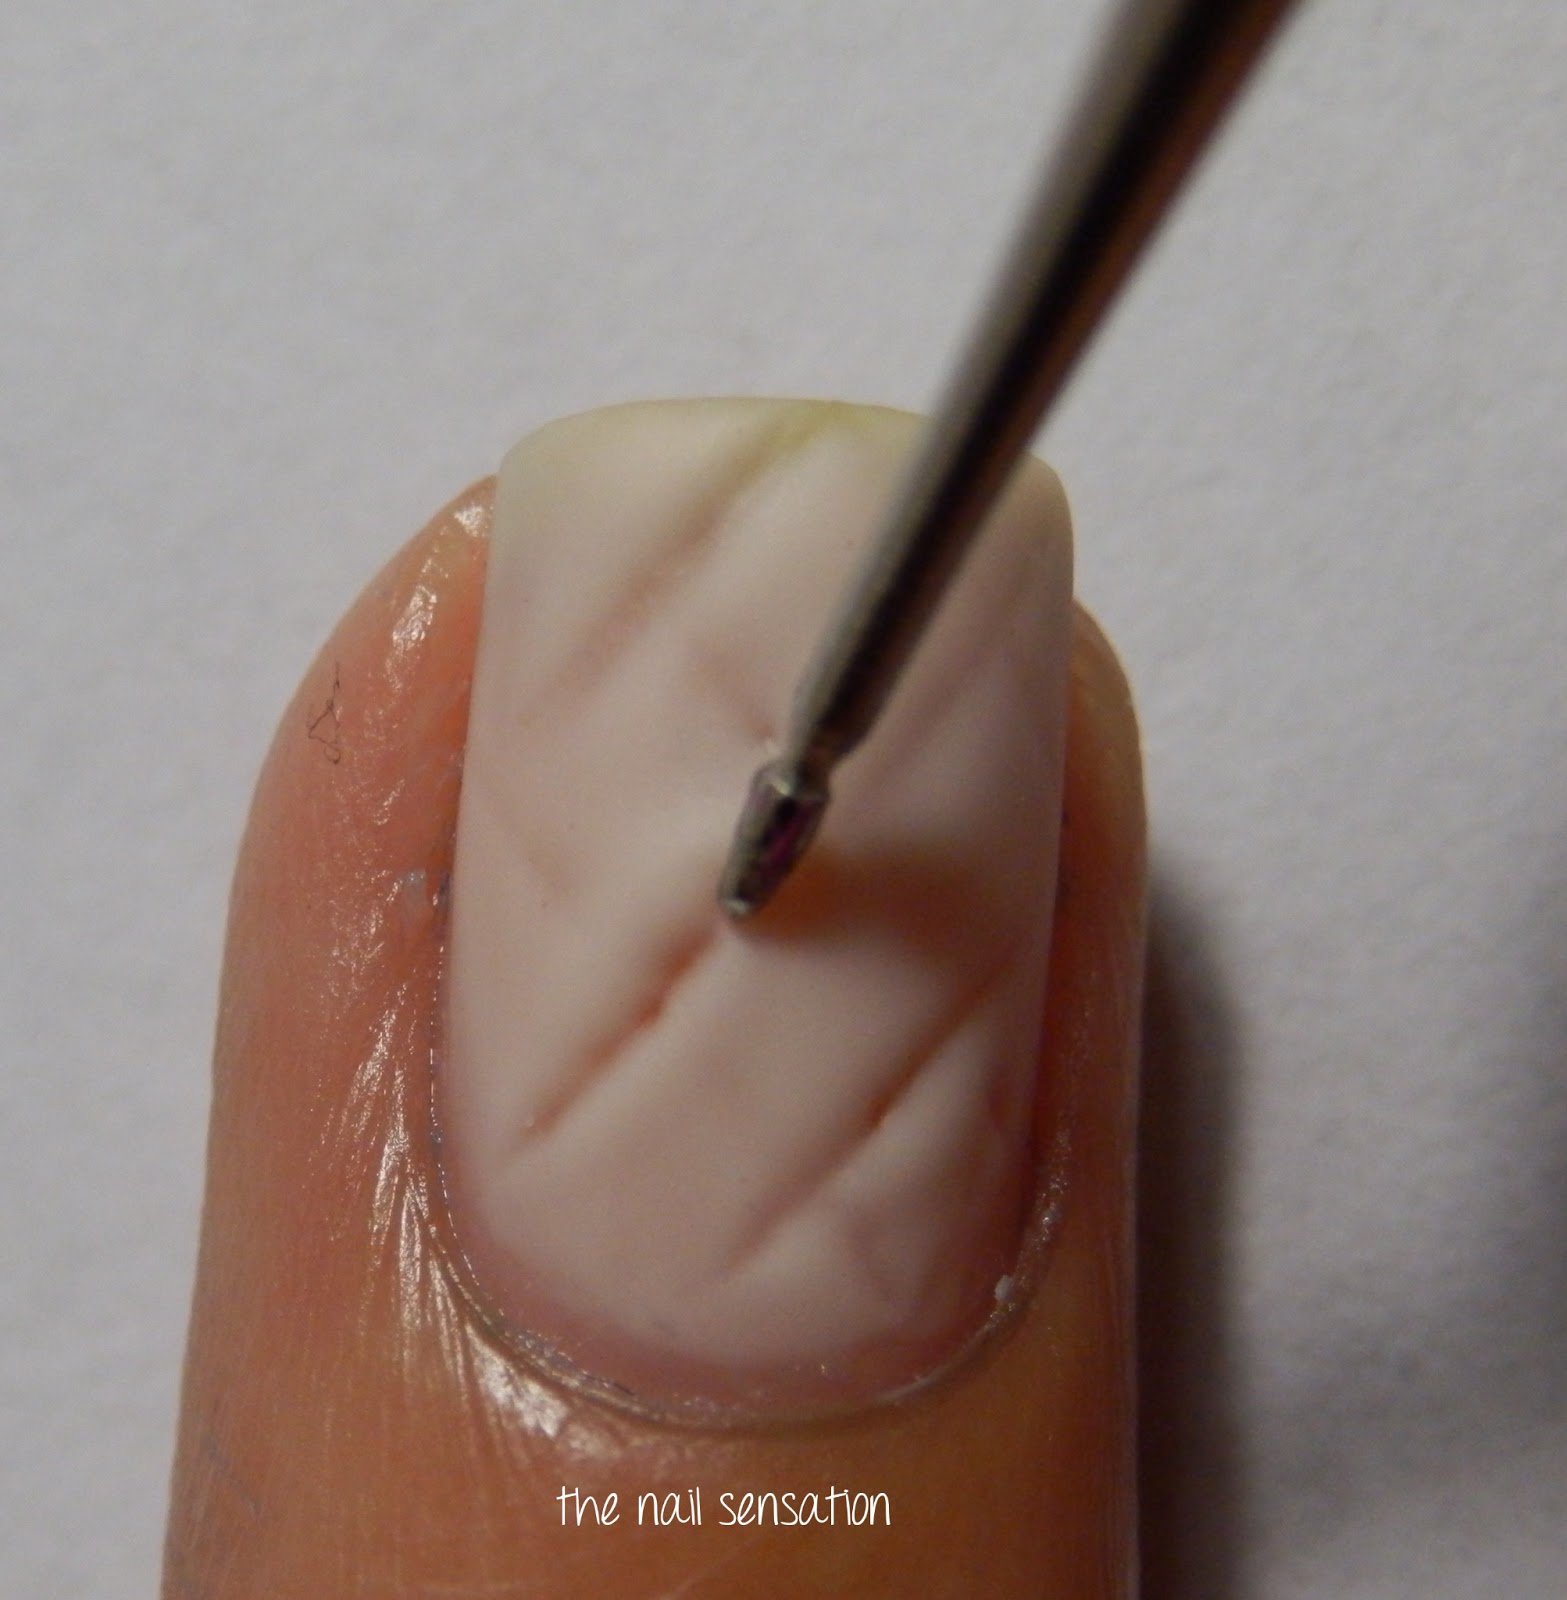
Create the Quilted Pattern

Dip your thin nail art brush into the contrasting color. Begin by creating vertical lines on your nails, evenly spaced apart. These lines will serve as the framework for your quilted pattern. Make sure the lines are straight and consistent across all your nails.
Add Diagonal Lines

Once you've created the vertical lines, it's time to add diagonal lines. Connect the top of one vertical line to the bottom of the adjacent line, forming a diagonal crosshatch pattern. This step may require some precision, so take your time and be patient.
Fill in the Design
Using your contrasting color, fill in the spaces between the lines you created. This will give the illusion of a quilted pattern. Take care to stay within the lines and ensure an even distribution of color. Allow the design to dry completely.
Apply Top Coat
To seal and protect your quilted design, apply a generous layer of top coat. This will give your nails a glossy finish and prolong the life of your nail art. Be sure to cover the entire nail surface and let the top coat dry completely.
Clean up Excess Polish

Take a clean brush or cotton swab dipped in nail polish remover and gently clean up any excess polish on your skin or cuticles. This step will give your quilted nails a polished and professional look.
Final Touches

Once your quilted nails are fully dry, take a moment to admire your masterpiece. You can further enhance your design by adding small rhinestones or glitter accents. Get creative and make your quilted nails truly unique!
Caring for Your Quilted Nails
To ensure the longevity of your quilted nails, it's important to take proper care of them. Avoid using your nails as tools and wear gloves when doing household chores. Apply a fresh coat of top coat every few days to maintain the shine and durability of your design.
Show Off Your Quilted Nails

Now that you've mastered the art of quilted nails, it's time to show them off to the world! Take pictures, share them on social media, and inspire others with your creativity. Get ready for compliments and inquiries about your stunning quilted nail design!
