
Introduction
Are you tired of the same old boring nail colors? Why not try something fun and vibrant like rainbow star nails? This trendy nail art design is taking the beauty world by storm, and it's easy to see why. With its colorful palette and eye-catching star patterns, rainbow star nails are the perfect way to express your unique style and show off your creativity. In this article, we'll explore everything you need to know about this fun and exciting nail trend.
What are Rainbow Star Nails?
Rainbow star nails are a type of nail art that features a vibrant rainbow color scheme and star-shaped patterns. This design can be created using various techniques, including hand-painting, nail stickers, or even nail stamps. The possibilities are endless, allowing you to customize your nails and create a unique look that reflects your personality.

How to Create Rainbow Star Nails
Creating rainbow star nails is easier than you might think. Here's a step-by-step guide to help you achieve this stunning look:
Step 1: Prepare Your Nails
Start by removing any old nail polish and shaping your nails to your desired length and shape. It's also important to ensure that your nails are clean and dry before applying any nail polish or art.

Step 2: Apply a Base Coat
To protect your nails and ensure that your nail art lasts longer, apply a thin layer of clear or nude-colored base coat. This will also create a smooth surface for the subsequent layers of nail polish.
Step 3: Choose Your Rainbow Colors
Select a range of vibrant colors for your rainbow star nails. You can choose any colors that appeal to you, but the classic rainbow colors include red, orange, yellow, green, blue, indigo, and violet.

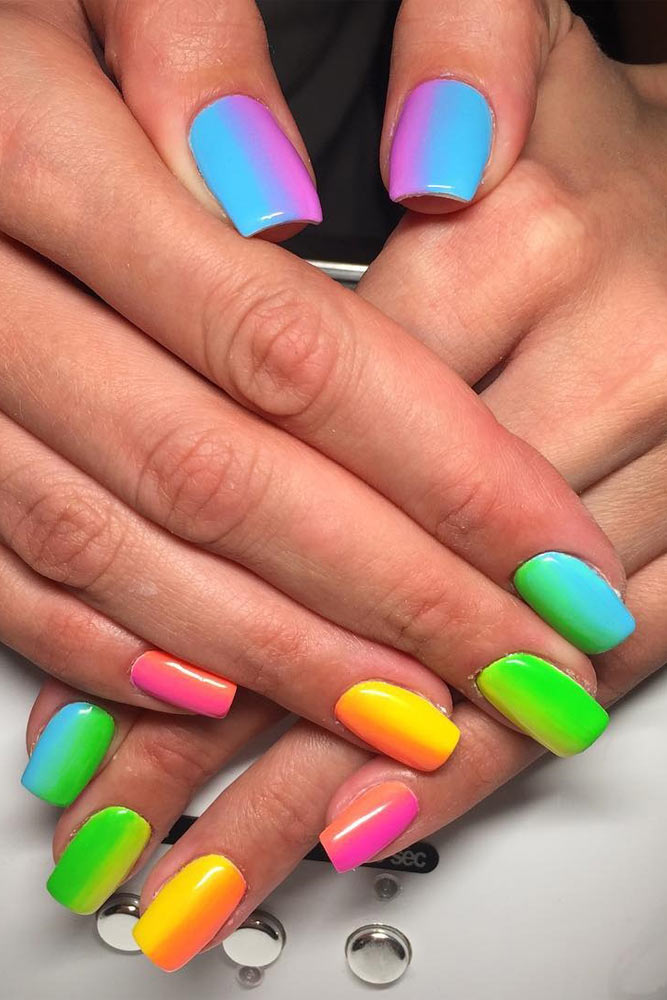
Step 4: Apply the Rainbow Gradient
Start by painting the first color of your rainbow gradient on one side of your nail. Use a nail art brush or a sponge to create a smooth transition between colors. Repeat this process with the remaining colors, creating a beautiful rainbow effect on your nails.
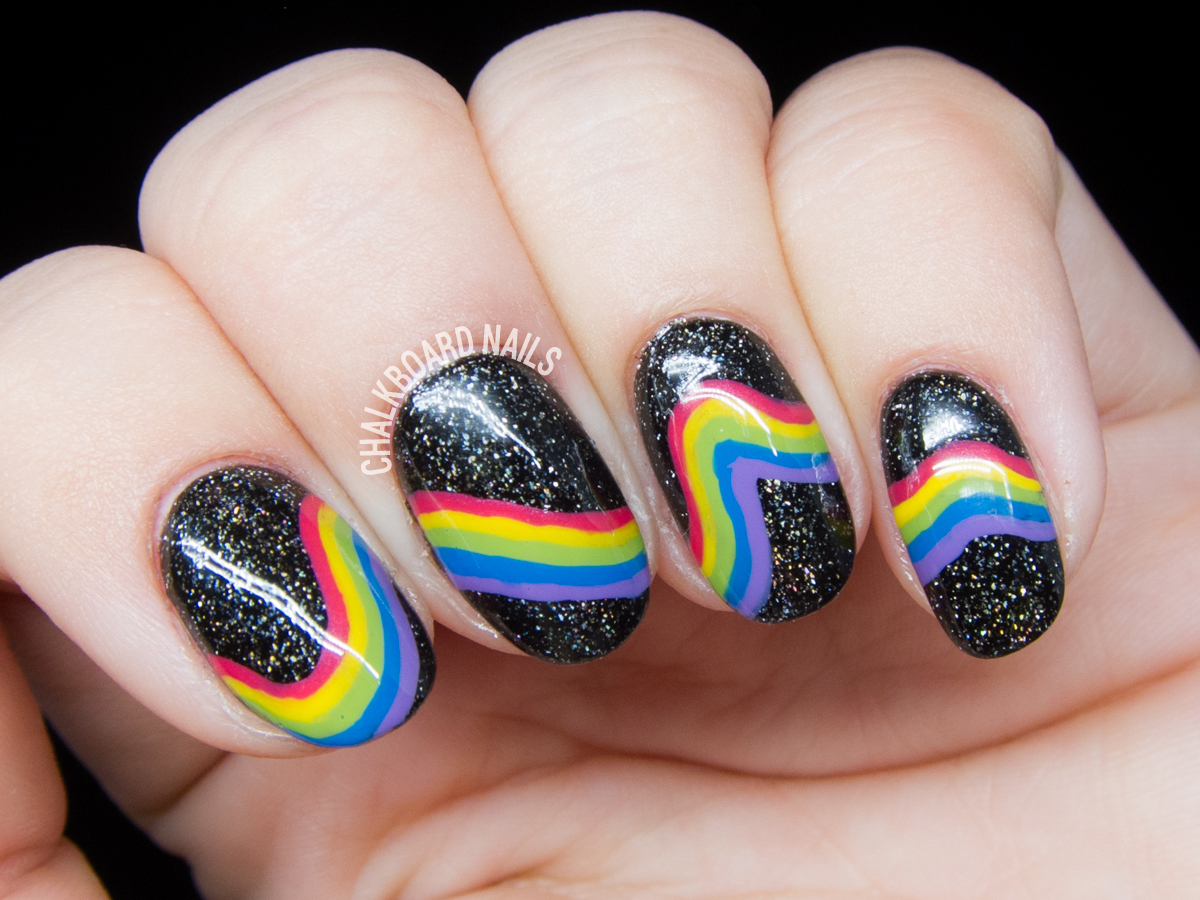
Step 5: Add Star Patterns
Once your rainbow gradient is dry, it's time to add the star patterns. You can use a fine-tipped nail art brush or a star-shaped nail stamp to create the stars. Place the stars strategically on your nails to achieve the desired look.

Step 6: Seal with a Top Coat
To ensure that your rainbow star nails last longer and maintain their vibrant appearance, seal the design with a layer of clear top coat. This will also add a glossy finish to your nails and protect them from chipping.

Tips for Maintaining Rainbow Star Nails
To keep your rainbow star nails looking their best, here are a few tips to follow:
1. Avoid Harsh Chemicals
Harsh chemicals, such as household cleaners and acetone-based nail polish removers, can dull the colors and damage the design. Opt for gentle nail polish removers and wear gloves while doing household chores to protect your nails.
2. Moisturize Your Cuticles
Regularly moisturize your cuticles and nails to keep them healthy and prevent dryness. Dry cuticles can cause your nail polish to chip and peel off prematurely.
3. Protect Your Nails
Wear gloves while doing activities that may put your nails at risk of damage, such as gardening or washing dishes. This will help preserve the longevity of your rainbow star nails.
Conclusion
Rainbow star nails are a fun and exciting way to add a splash of color to your manicure. With their vibrant rainbow gradient and eye-catching star patterns, these nails are sure to turn heads and make a bold statement. Follow our step-by-step guide to create your own rainbow star nails and let your creativity shine. Maintain your nails properly to ensure they stay looking fabulous for as long as possible. So, why settle for boring nails when you can have a stunning rainbow star manicure?
