Introduction
As the weather gets warmer and the flowers start to bloom, it's time to update your nail game for spring. While a trip to the salon may not be feasible for everyone, you can still achieve fabulous spring nails at home. With a little creativity and some simple techniques, you can have beautiful nails that are perfect for the season. In this article, we will guide you through the process of creating stunning spring nails in the comfort of your own home.
Gather Your Supplies

Before you begin, make sure you have all the necessary supplies. This includes a base coat, nail polish in various spring shades, nail art tools, nail stickers or decals, a top coat, and nail polish remover. Having these items on hand will make the process much easier and more enjoyable.
Prepping Your Nails
Start by removing any existing nail polish using a gentle nail polish remover. Then, shape your nails to your desired length and file away any rough edges. Push back your cuticles gently using a cuticle pusher or orangewood stick. Finally, wash your hands thoroughly to ensure your nails are clean and ready for the next step.
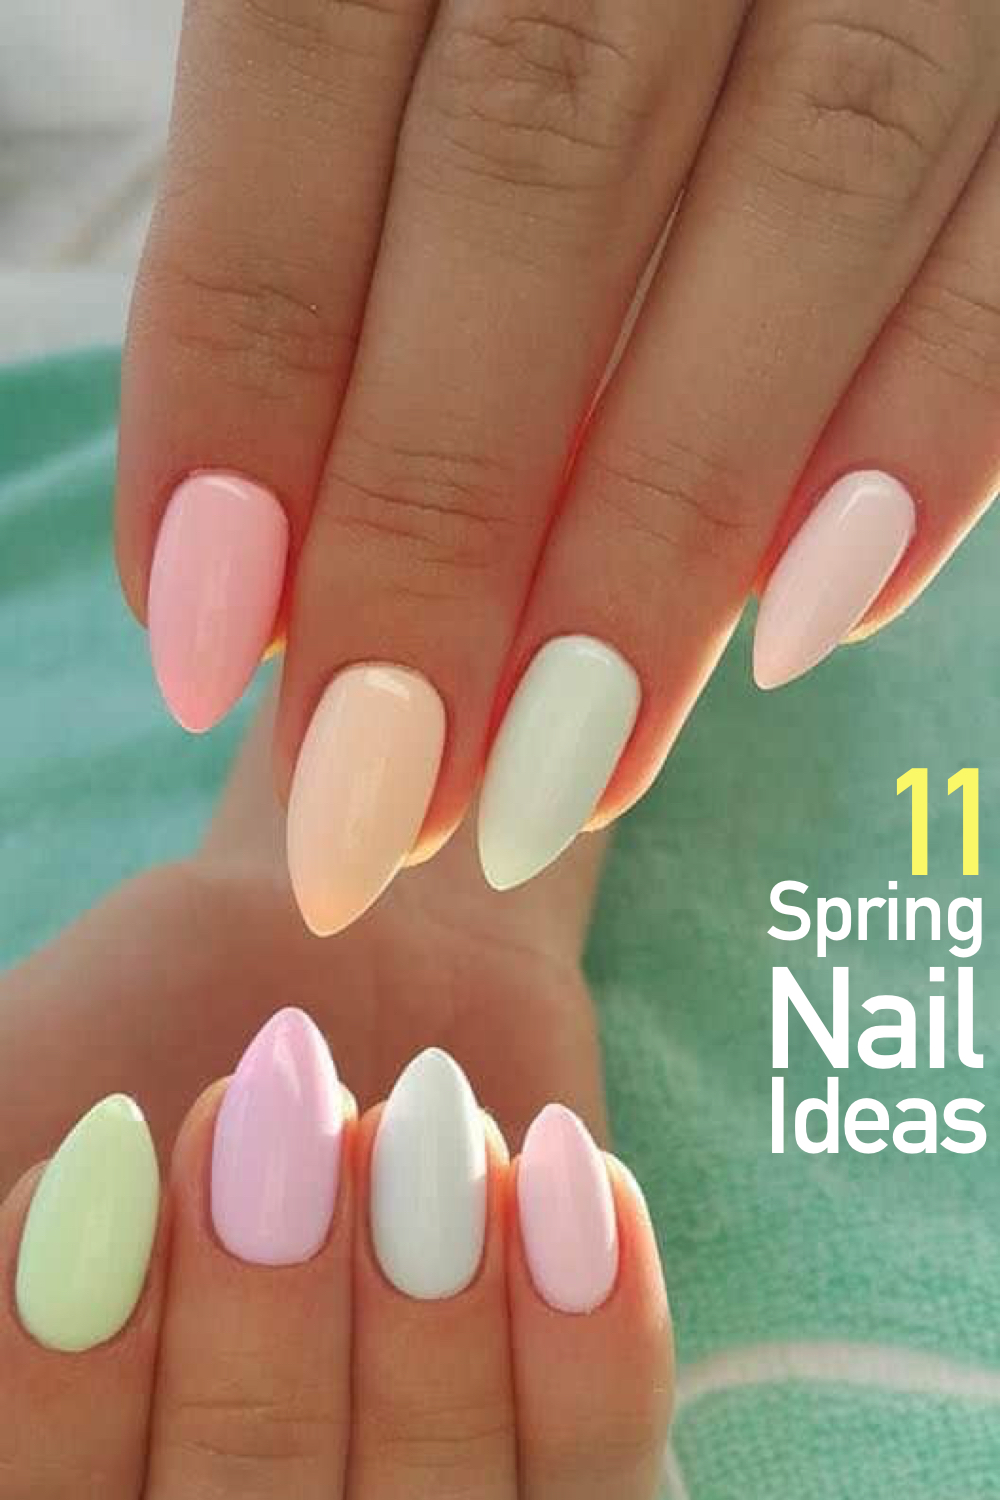
Choosing Spring Shades
Spring is all about vibrant colors and pastel shades. Choose nail polishes in shades of pink, coral, lavender, mint, or any other color that reminds you of blooming flowers and sunny days. Don't be afraid to mix and match different shades to create unique and eye-catching designs.
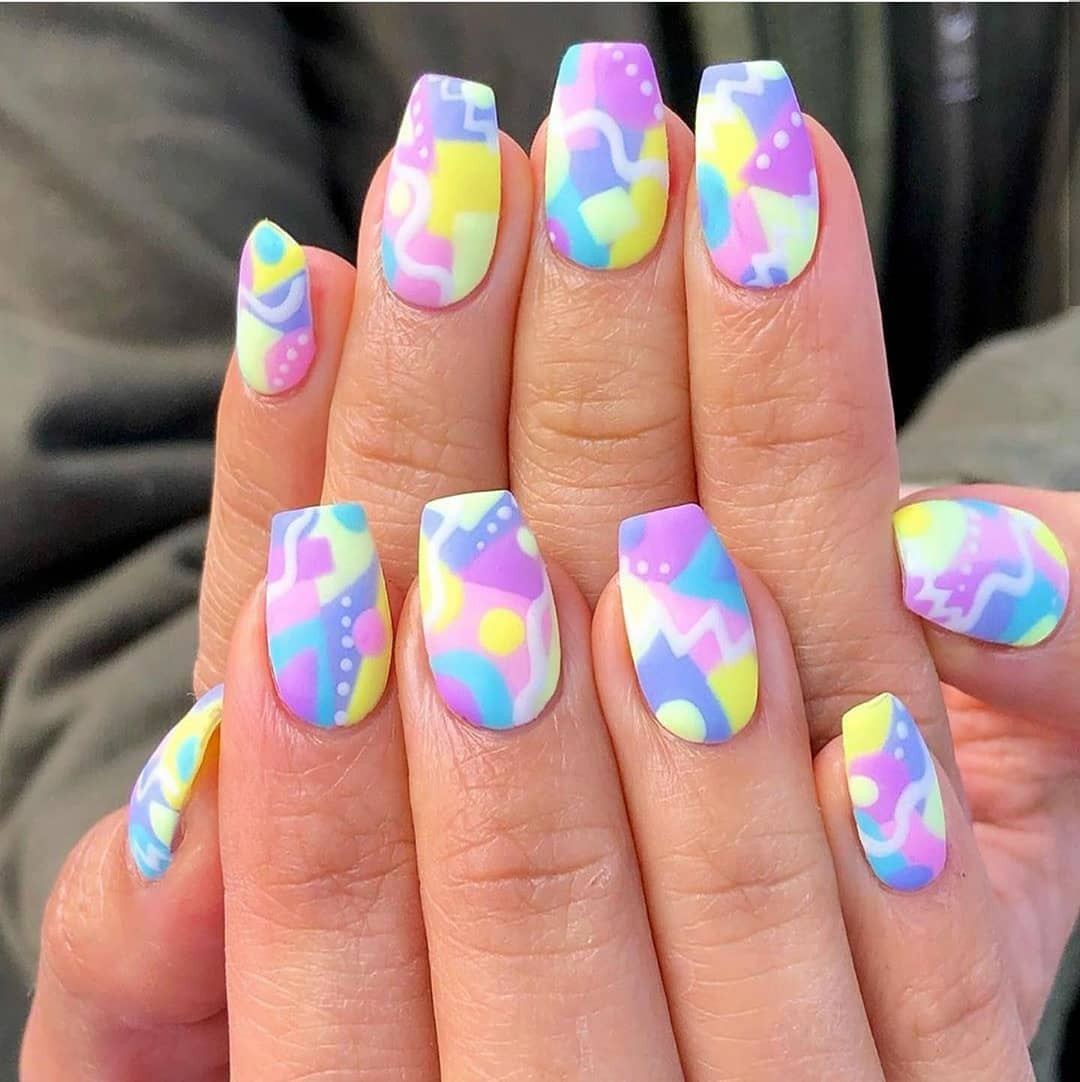
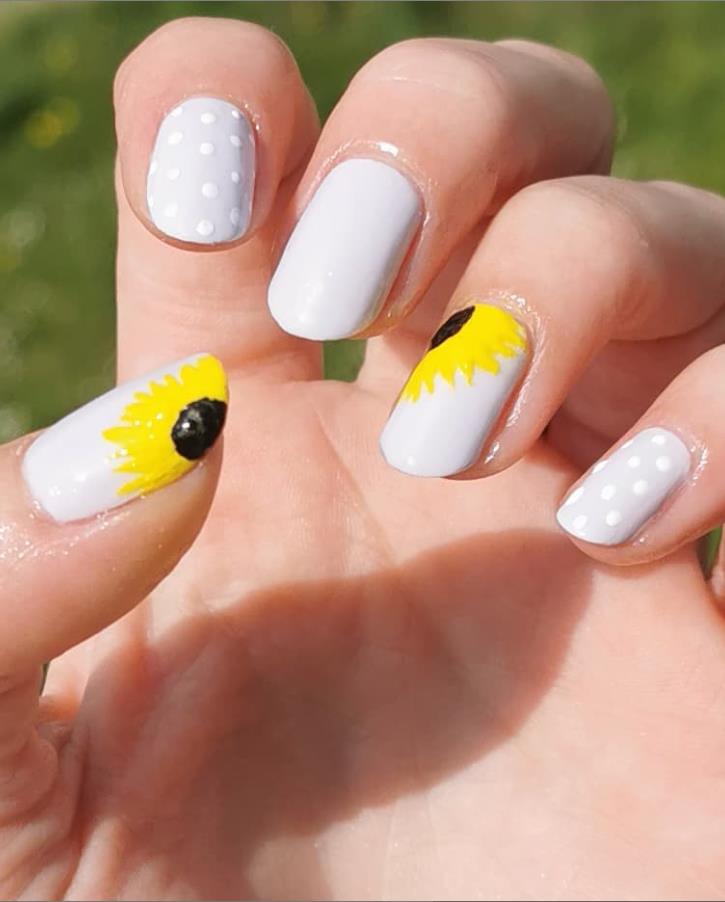
Creating Simple Nail Art

If you're new to nail art, start with simple designs. Use a thin nail art brush or a toothpick to create dots, stripes, or geometric shapes on your nails. You can also try the classic French manicure with a twist by using different spring colors for the tips. Get creative and experiment with different patterns and techniques.
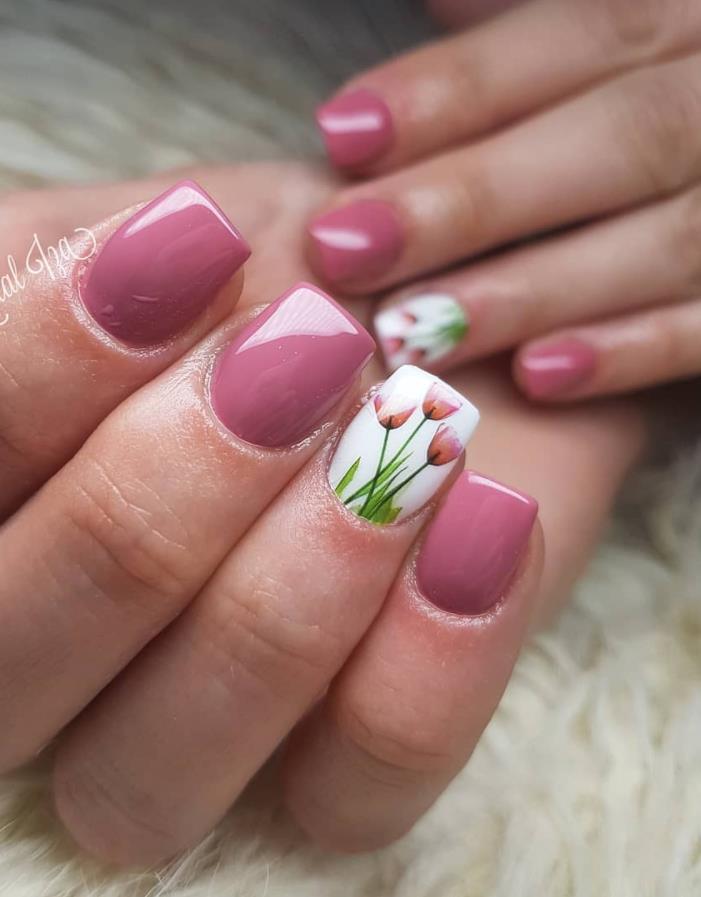
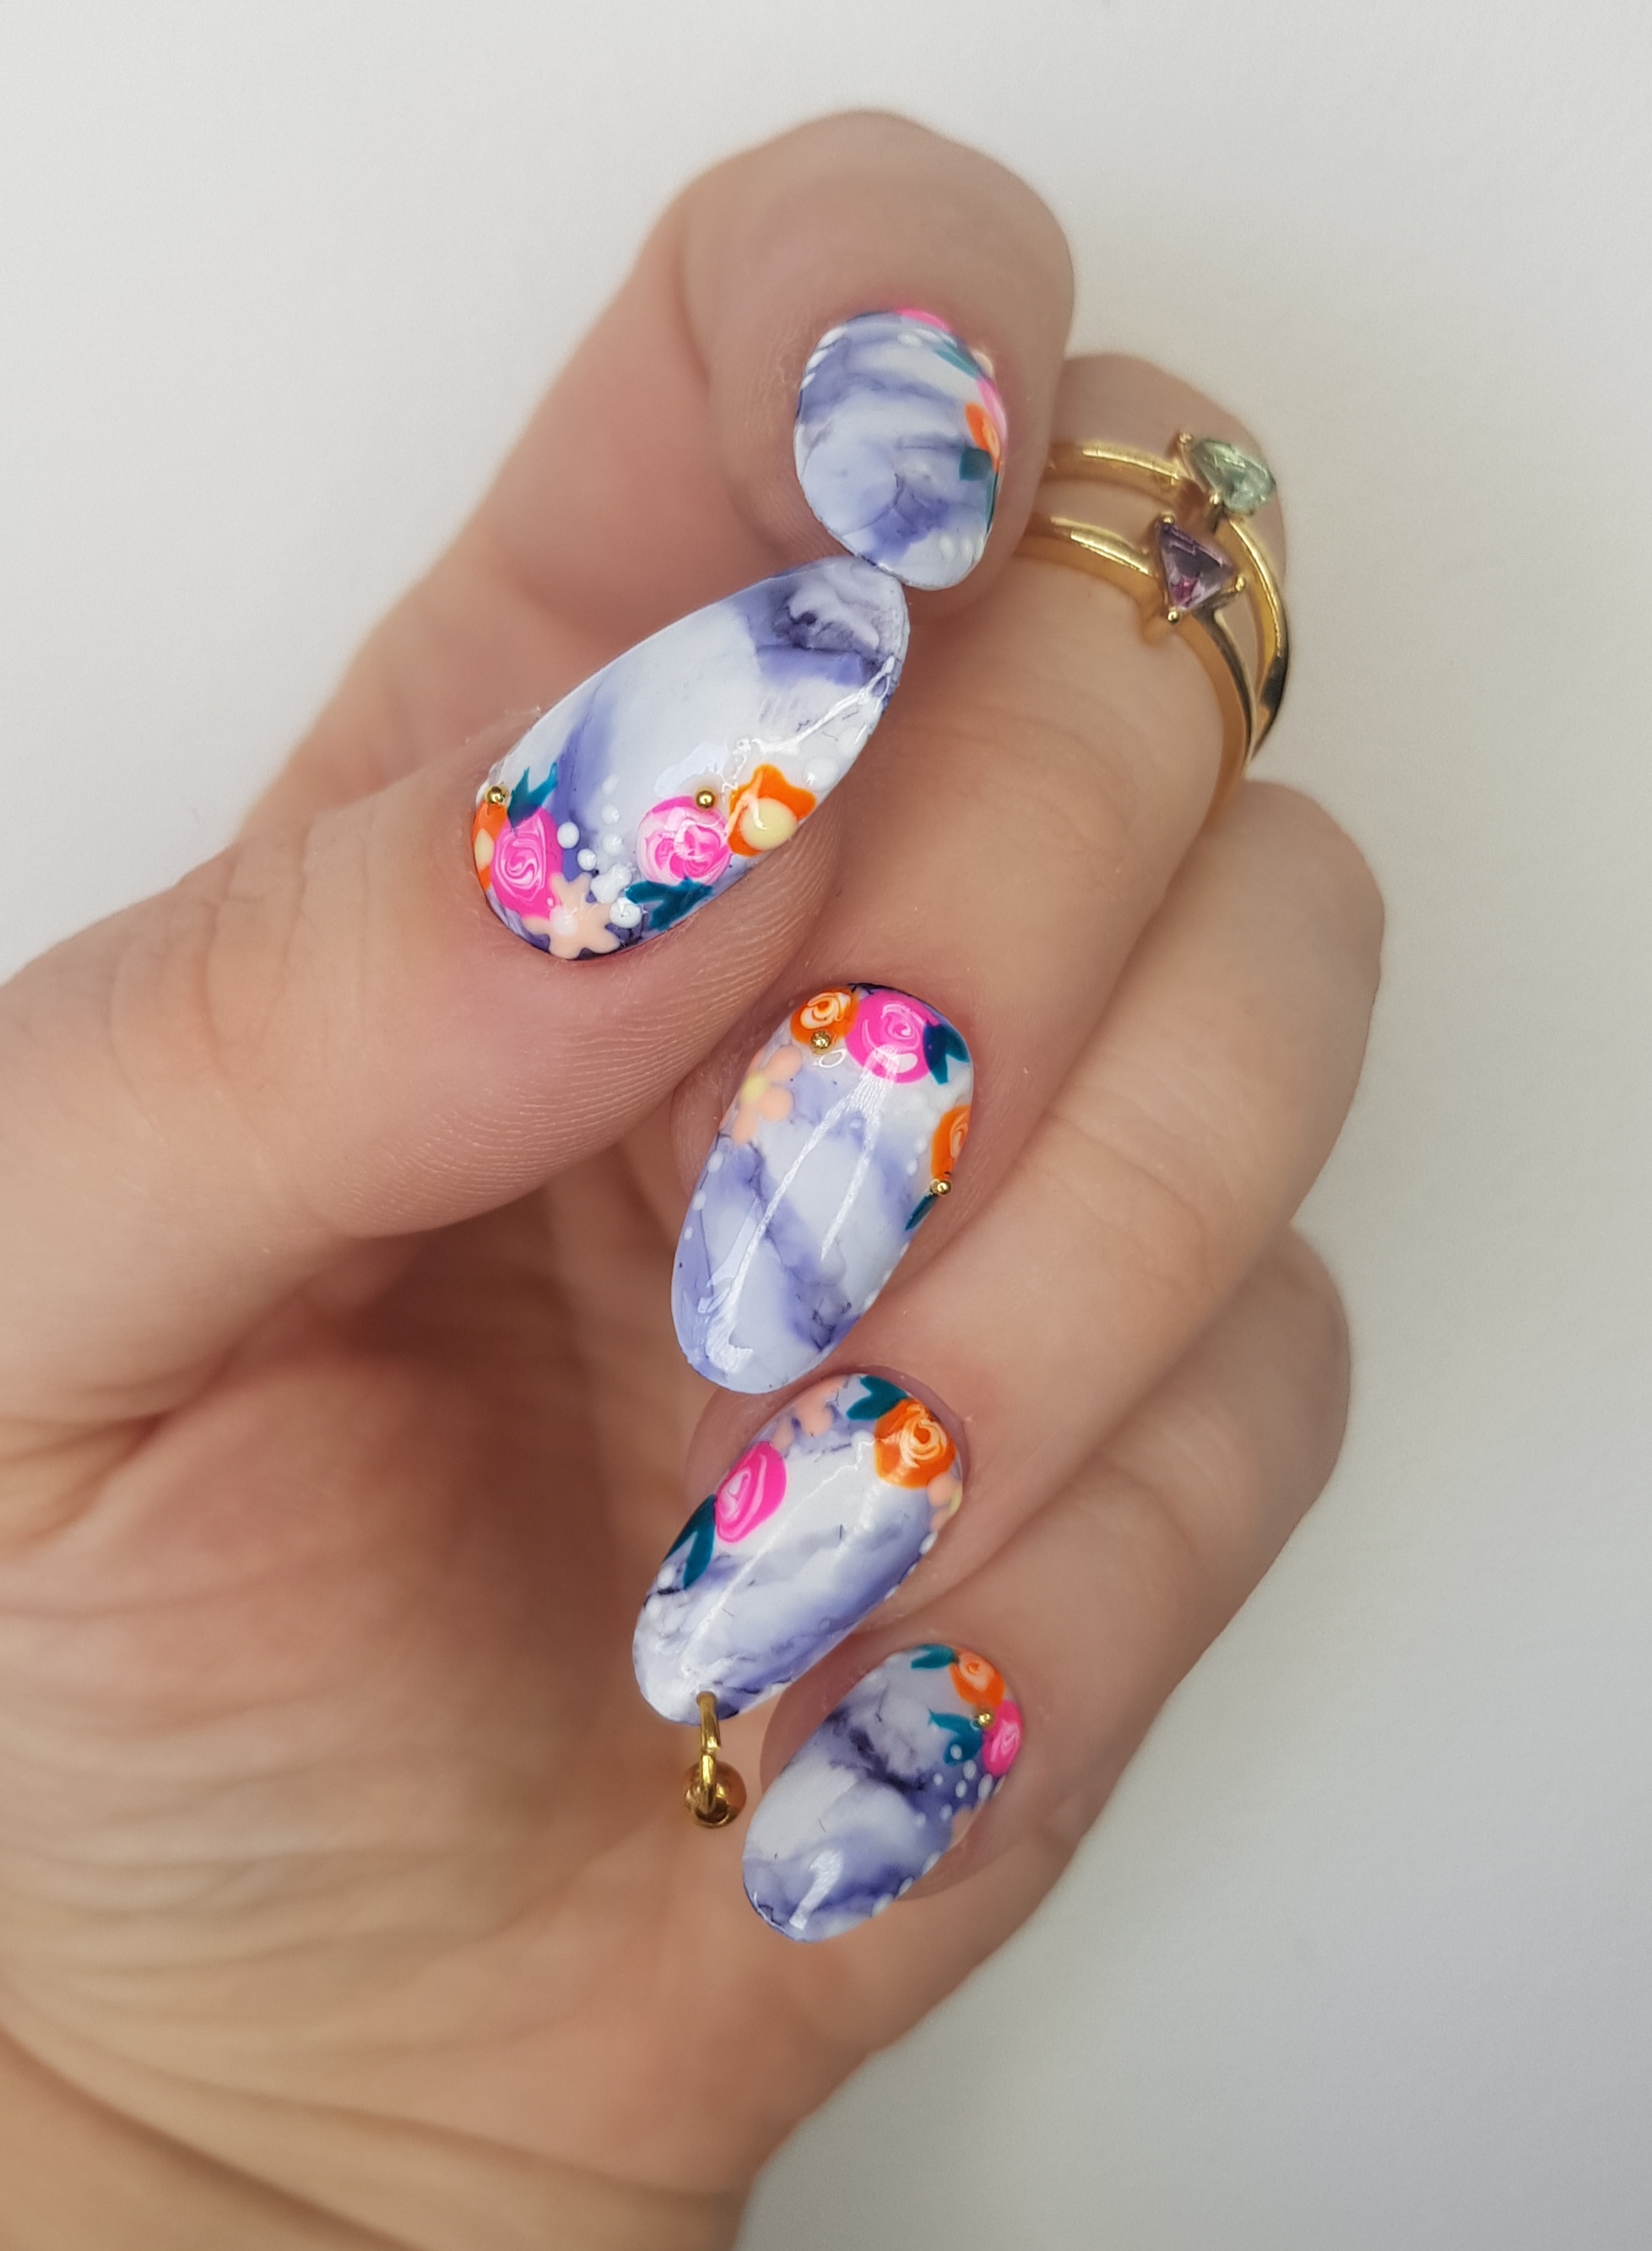
Adding Nail Stickers or Decals

If you want to add some extra flair to your spring nails, consider using nail stickers or decals. These come in various designs, including flowers, butterflies, and other spring-themed motifs. Simply apply the stickers on dry nail polish, press them gently to ensure they adhere well, and seal with a top coat for long-lasting results.
Experimenting with Nail Stamps
Nail stamps are a great tool for creating intricate designs with minimal effort. Apply a layer of nail polish on the stamping plate, scrape off the excess, and transfer the design onto your nails using a stamp. This technique allows you to achieve professional-looking nail art with ease.
Finishing Touches

Once you're satisfied with your spring nail design, apply a top coat to seal in the colors and add shine. This will also help your nail art last longer. Allow your nails to dry completely before going about your day to prevent smudging or ruining your hard work.
Caring for Your Spring Nails
To maintain your beautiful spring nails, it's important to take care of them. Apply cuticle oil regularly to keep your cuticles hydrated and prevent them from drying out. Wear gloves when doing household chores to protect your nails from harsh chemicals. Lastly, avoid using your nails as tools to prevent them from breaking or chipping.
Conclusion
Creating stunning spring nails at home is easier than you think. With a little practice and the right tools, you can achieve salon-worthy results without leaving your house. Follow the steps outlined in this article and let your creativity shine through your spring-inspired nail designs. Get ready to embrace the season with beautiful, vibrant nails that are sure to turn heads.
